Many agencies are required to include their official logo on documentation such as exemption logs or chain of custody reports for auditing, compliance, or branding purposes. Including your agency logo on these reports not only reinforces authenticity but also maintains consistency across official documentation. CaseGuard Studio makes it simple to customize your reports by uploading and embedding your agency logo directly into your print reports, ensuring that your branding is reflected across all generated documentation.
In this step-by-step guide, we’ll walk you through how to upload your agency logo, adjust your agency information, and confirm that your logo appears correctly on all current and future reports generated from CaseGuard Studio.
Follow These Steps to Easily Set Your Agency Logo in CaseGuard
-
Open CaseGuard Studio on your machine.
-
Select Tools from the top left corner of the CaseGuard Studio window.
-
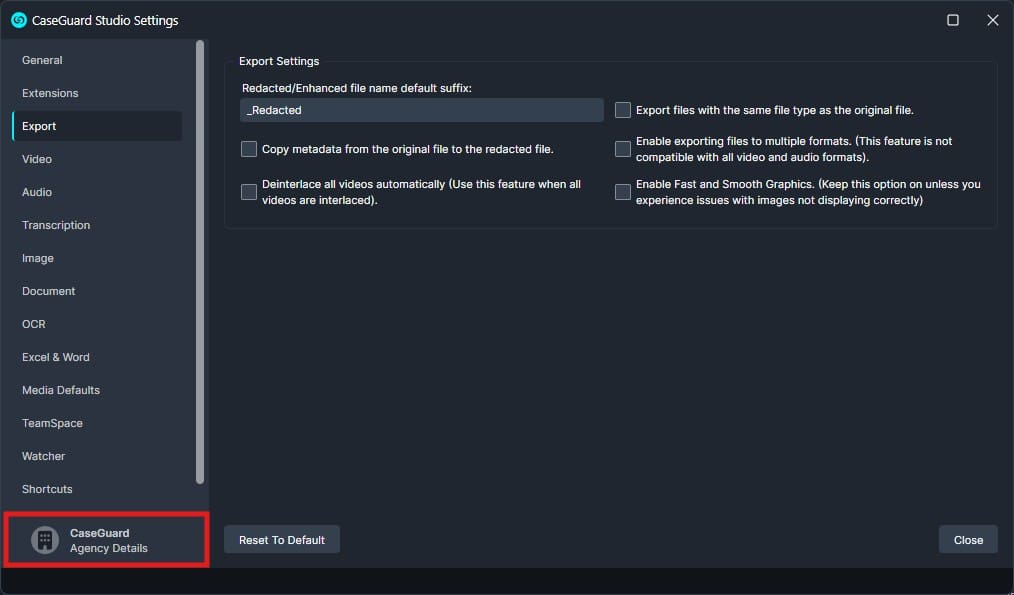
From the drop-down menu, choose Settings to open your system preferences.


- After uploading your logo, close the Settings window.
- Next, click on the Print Reports icon. This will open the Print Reports window, where you can preview your documentation. You should now see your agency logo displayed in the top left corner of the window.

Your agency logo will now automatically appear on all current and future reports generated within CaseGuard Studio, helping maintain consistent, branded documentation.
If you encounter any issues during this process or would like assistance walking through these steps, please don’t hesitate to contact our team at [email protected]. We’re here to ensure your redaction workflow is smooth, effective, and tailored to meet your operational requirements.