Overview
The Bulk Watermark feature allows users to apply a Watermark to an unlimited number of documents all at once! Watermarking is processing of adding a mark to a document to identify ownership or intended use of the document. Applying a Watermark will prevent anyone or any organization from altering or stealing your data as their own.
The Bulk Watermark feature in CaseGuard Studio is particularly valuable for organizations in the Legal field. With this feature, users can apply a previously saved watermark to a large number of documents in a single action, without the need for manual work.
For instance, in the Legal field, where confidentiality is crucial, users can add a red “Confidential” watermark to million of pages from an unlimited number of legal documents with just a few clicks. This demonstrates how the Bulk Watermark feature is both practical and convenient, saving time and effort for those redacting!
Follow the Steps to Add Watermark to Documents!
- Open CaseGuard Studio on your machine. You can create a new project, open an existing project, or select “Bulk Redaction” from the Get Started Window to begin.
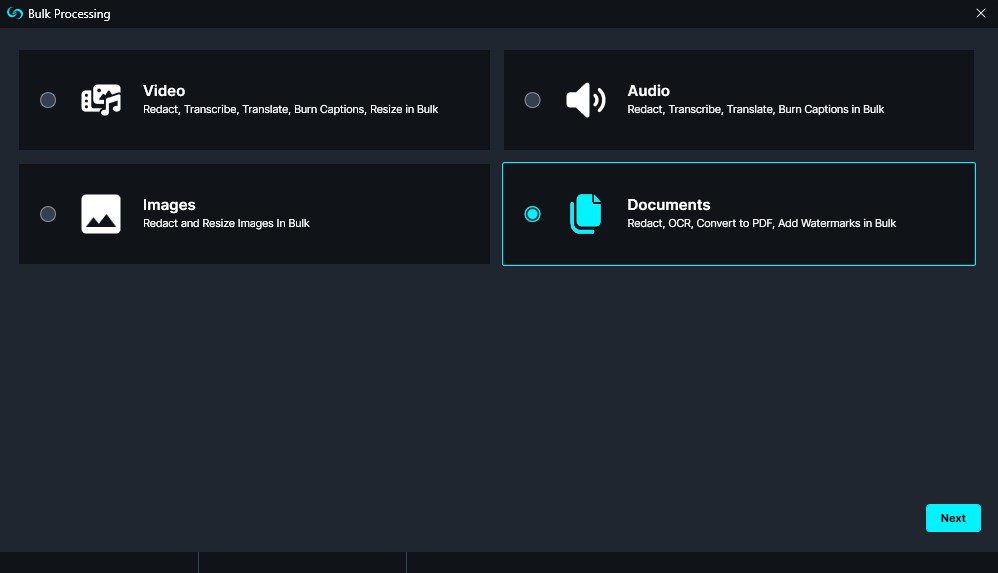
- Select the Bulk Processing
icon from the Shortcuts Bar.
- Select “Documents” from the menu.
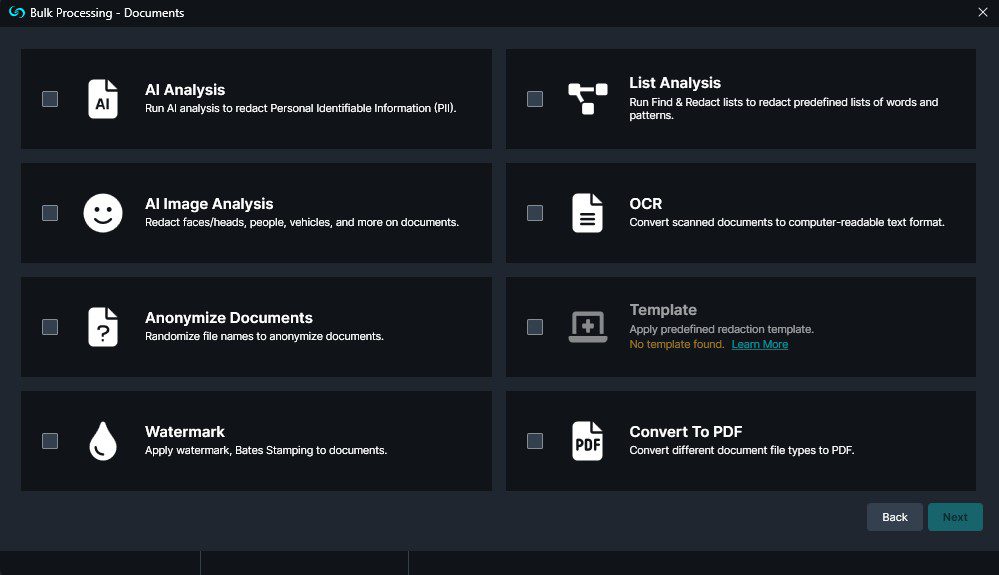
- Select “Next,” and you will be presented with various processes that can be performed on documents in bulk, including optical character recognition (OCR), AI image analysis, and template redaction.
- Select “Watermark.”
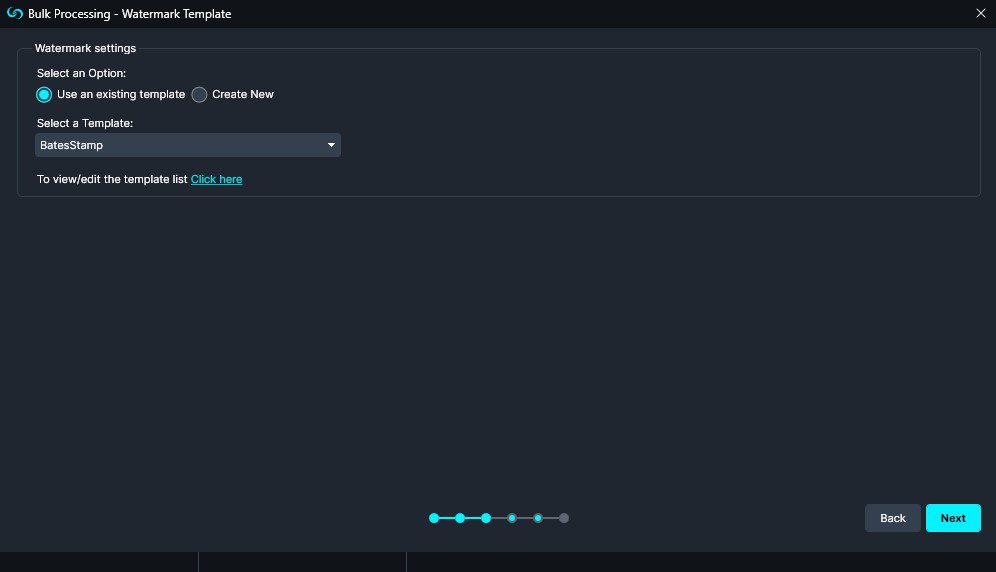
- Select a previously made Watermark list or click the “create new” button.
- Click “Next
- Click “Next” and begin to add your files to CaseGuard Studio. There is no limit to the number of files that can be added to Bulk Processing, making it the perfect tool for efficiently accomplishing large tasks.
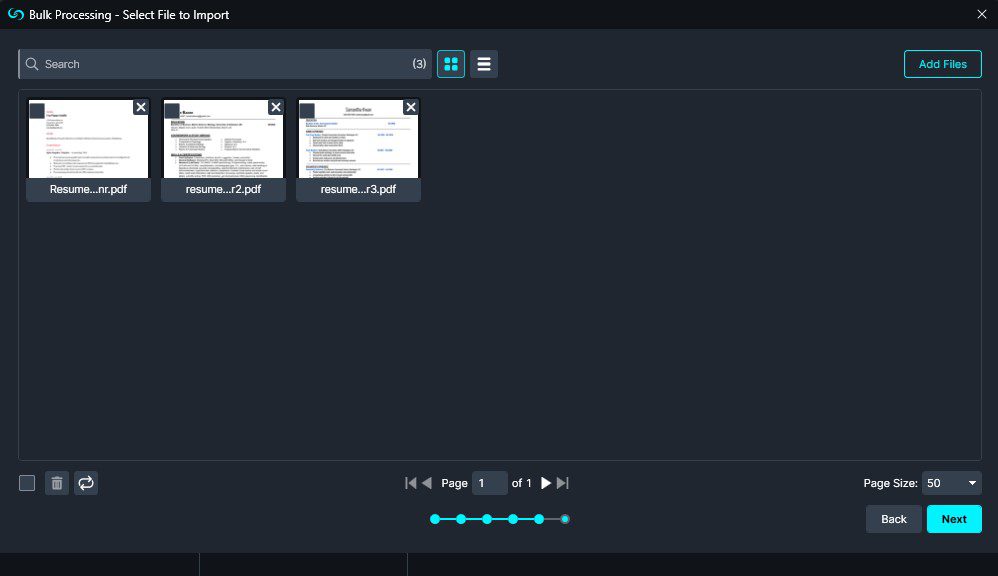
- Click “Start” in the bottom-right corner of the Bulk Processing window to begin processing files.
- The CaseGuard Scheduled Tasks window will appear. Each document added to the Bulk Redaction window will be processed, and their progress will be displayed.
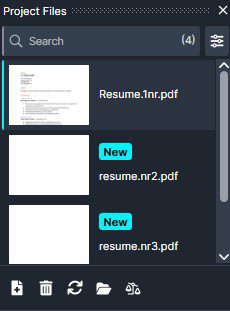
- Files processed will then be added to the Project Files panel in the upper-right corner of the screen.
