Overview
The Full Frame Effect feature, within CaseGuard Studio, applies Full-screen redactions to multiple videos or images in one operation. This feature is especially useful for users needing to blur every frame in a video while keeping the audio untouched.
This feature serves users handling videotapes of suspect interviews, where the goal is to shield faces and any identifying features from the public while retaining the audio. Instead of waiting for the AI to detect and censor all identifying features, employing the Full Frame Effect can simplify the redaction process. It is important to note that this is applicable only if the content of the video is not in question, solely the audio.
Follow these steps to Bulk Apply Full Frame Effects to Media Files!
- Click the Bulk Processing icon
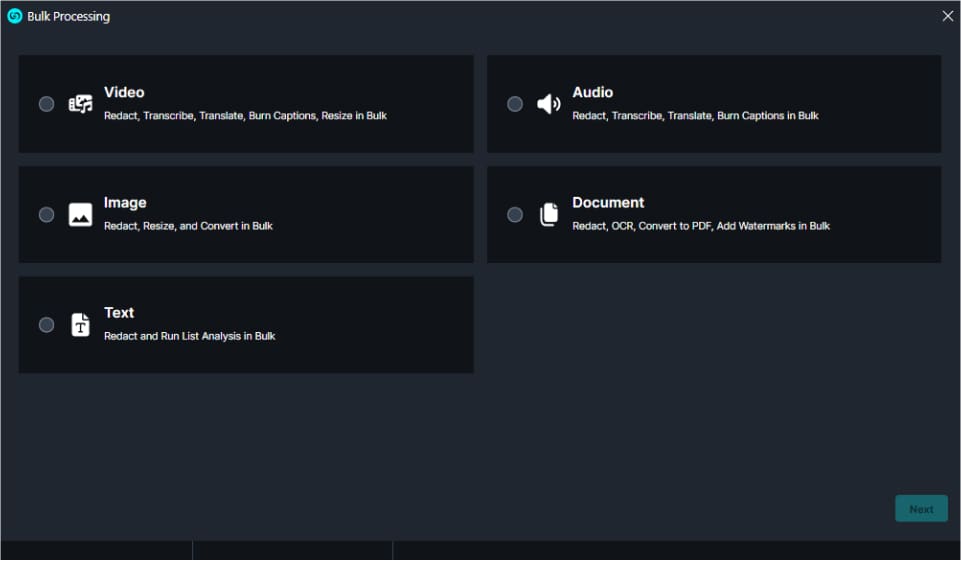
 in the Shortcuts Bar at the top of the screen. The Bulk Processing window will appear.
- Select “Video” from the window.

- Click “Next.” The Video window will open, and select “Global Video.”

- Select “Next” and the Full Frame Effect window will appear. Select the shape, effect, and redaction reasons you would like to use.

- Click “Add Files” and the file explorer will pop up. Select the video files you wish to redact, then click “Open.”
- There is no limit to the number of videos that can be added within the Bulk.

- Once the files are added click “Next.”
- A Summary window will appear. To automatically export all videos after starting the Bulk Redaction, check the “Export After Detection” checkbox.
- Leave unchecked if you would like to review each file before exporting.

- Click “Apply” to initiate the Bulk Video Redaction of all your files!
- The CaseGuard Scheduled Tasks window will appear. Each video added to the Bulk Redaction window will be processed, and its progress will be displayed.
- The redacted file will appear in the Project Files Panel.