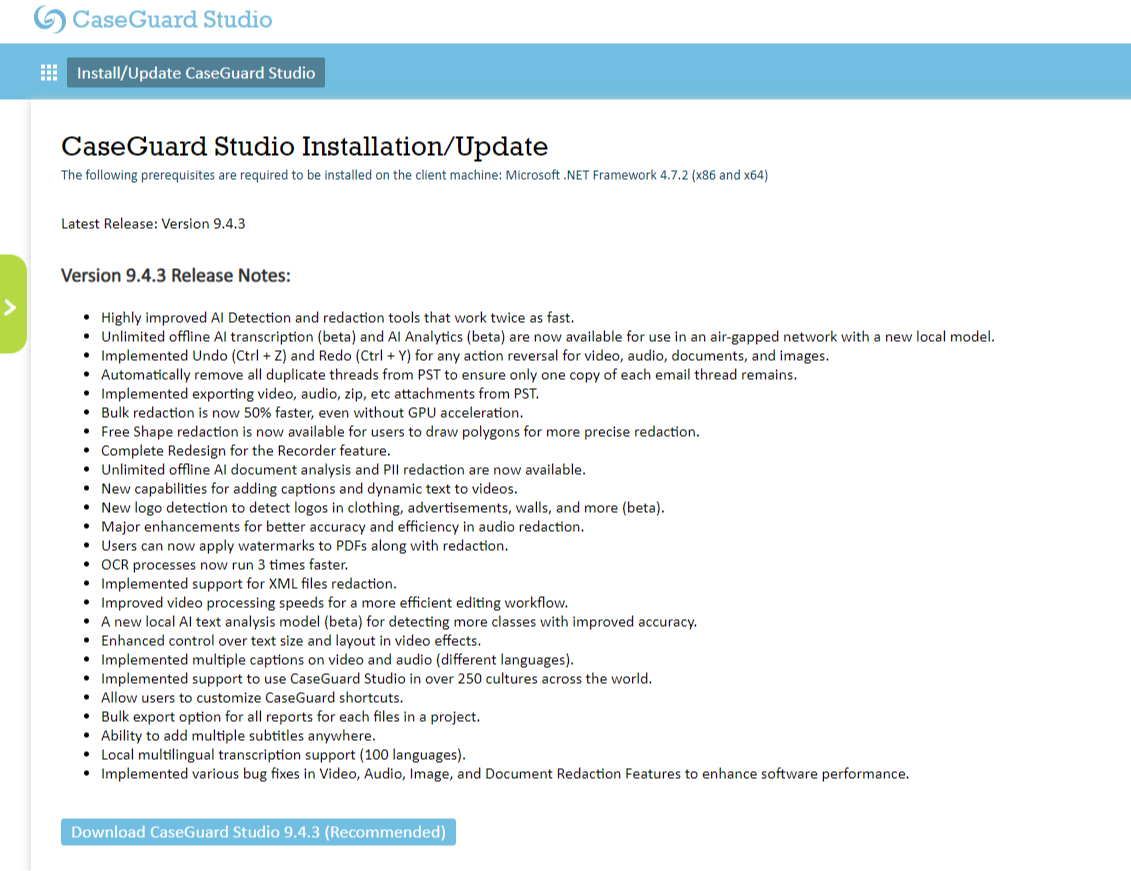
Follow these steps to install CaseGuard Studio!
Once your license is issued, look out for an email from [email protected] containing your login credentials. If you have not received the email, please contact us at [email protected].
- To install, follow the link provided in the email and use the username and password from that same email.
- Ensure your password is strong by using a unique combination of uppercase letters, lowercase letters, numbers, and special characters. Avoid using personal information that others may easily guess.
- Remember that CaseGuard will never request your password via email. Instead, you should reset your password by changing the temporary password provided during account setup.

- On the “Install/Update CaseGuard Studio” page, click on “Download CaseGuard Studio (Recommended)” to proceed.
- If you have trouble installing the recommended installation file or if you work in an air-gap environment; please click the “Download CaseGuard Studio (Offline)”.

- The CaseGuard installer will begin downloading, you can monitor the progress of the download in the top right corner of your browser.
- Once the download is complete, click “Downloads” on the top right corner of your browser to view the downloaded installer.
- Click “caseguardstudio-x.x.x.exe” to start the CaseGuard installation process.
- If you can’t find the “Downloads” section in your browser, you can also access the caseguardstudio-x.x.x.exe file from the Downloads section in Windows File Explorer.

- Once the CaseGuard installer window opens up, click “Next“.
- On the next CaseGuard installer window decide if you would like to install the software for everyone that uses the computer or just yourself.
- If multiple user accounts will be using CaseGuard on the same computer, choose “Everybody (all users)“
- If CaseGuard is intended for use by only one user account, select “Only for me“.
- Once the user preference is selected, Click “Next” to continue.

- Click “Typical“.
- or click “Custom” if you would like to set up a custom setting path or install 10 additional OCR languages.

- In the next window decide where you would like your CaseGuard installed.
- We recommend keeping it installed on a local drive.
- Click the check box to agree with the CaseGuard License terms and conditions and then click “Install.”
- Review the terms and conditions by clicking the “License terms and conditions” link.

- When the Windows User Account Control window appears, click “Yes” to proceed.
- The CaseGuard installation will begin, it may take a few minutes depending on your internet connection.
- To launch CaseGuard Studio immediately, check the box next to “Launch CaseGuard Studio,” then click “Finish“.

- When you open CaseGuard Studio for the first time, a login window will appear. Enter your credentials from the email sent by [email protected], and then click “Login“. Select the “Remember Me” check box to automatically be logged in going forward.

Using Offline-Keys
If a user intends to utilize CaseGuard Studio offline or in an air-gapped network, we have offline keys available for you to access the software.

- To install CaseGuard, follow the steps outlined above. If the workstation is in an air-gapped network, you may need to use a flash drive to transfer CaseGuard’s files from a computer with internet access to the air-gapped workstation.
- Install the software by adding CaseGuard’s files to your computer. After the installation of CaseGuard is complete, open the software and expand the offline key section on the login prompt.
- Contact your CaseGuard representative or email [email protected], providing them with the License Unique ID so that an offline key can be issued.
See it in action!
![Video Thumbnail]()
Play Video