Overview
Digital evidence can be easily altered, which is why tracking how a file is handled is vitally important. CaseGuard logs all work performed on your files automatically in the Print Reports section of CaseGuard.
A judge requiring proof that evidence has not been altered further after a user provides the redacted evidence is one example of CaseGuard’s Reports functionality.
The Print Report feature generates printable reports that document key information, such as:
- All file names within a project
- Redactions/Operations/Tasks performed
- Logs displaying when and how files were modified
- Metadata, such as File Size, File Type, Page Count, and more

Reports Overview
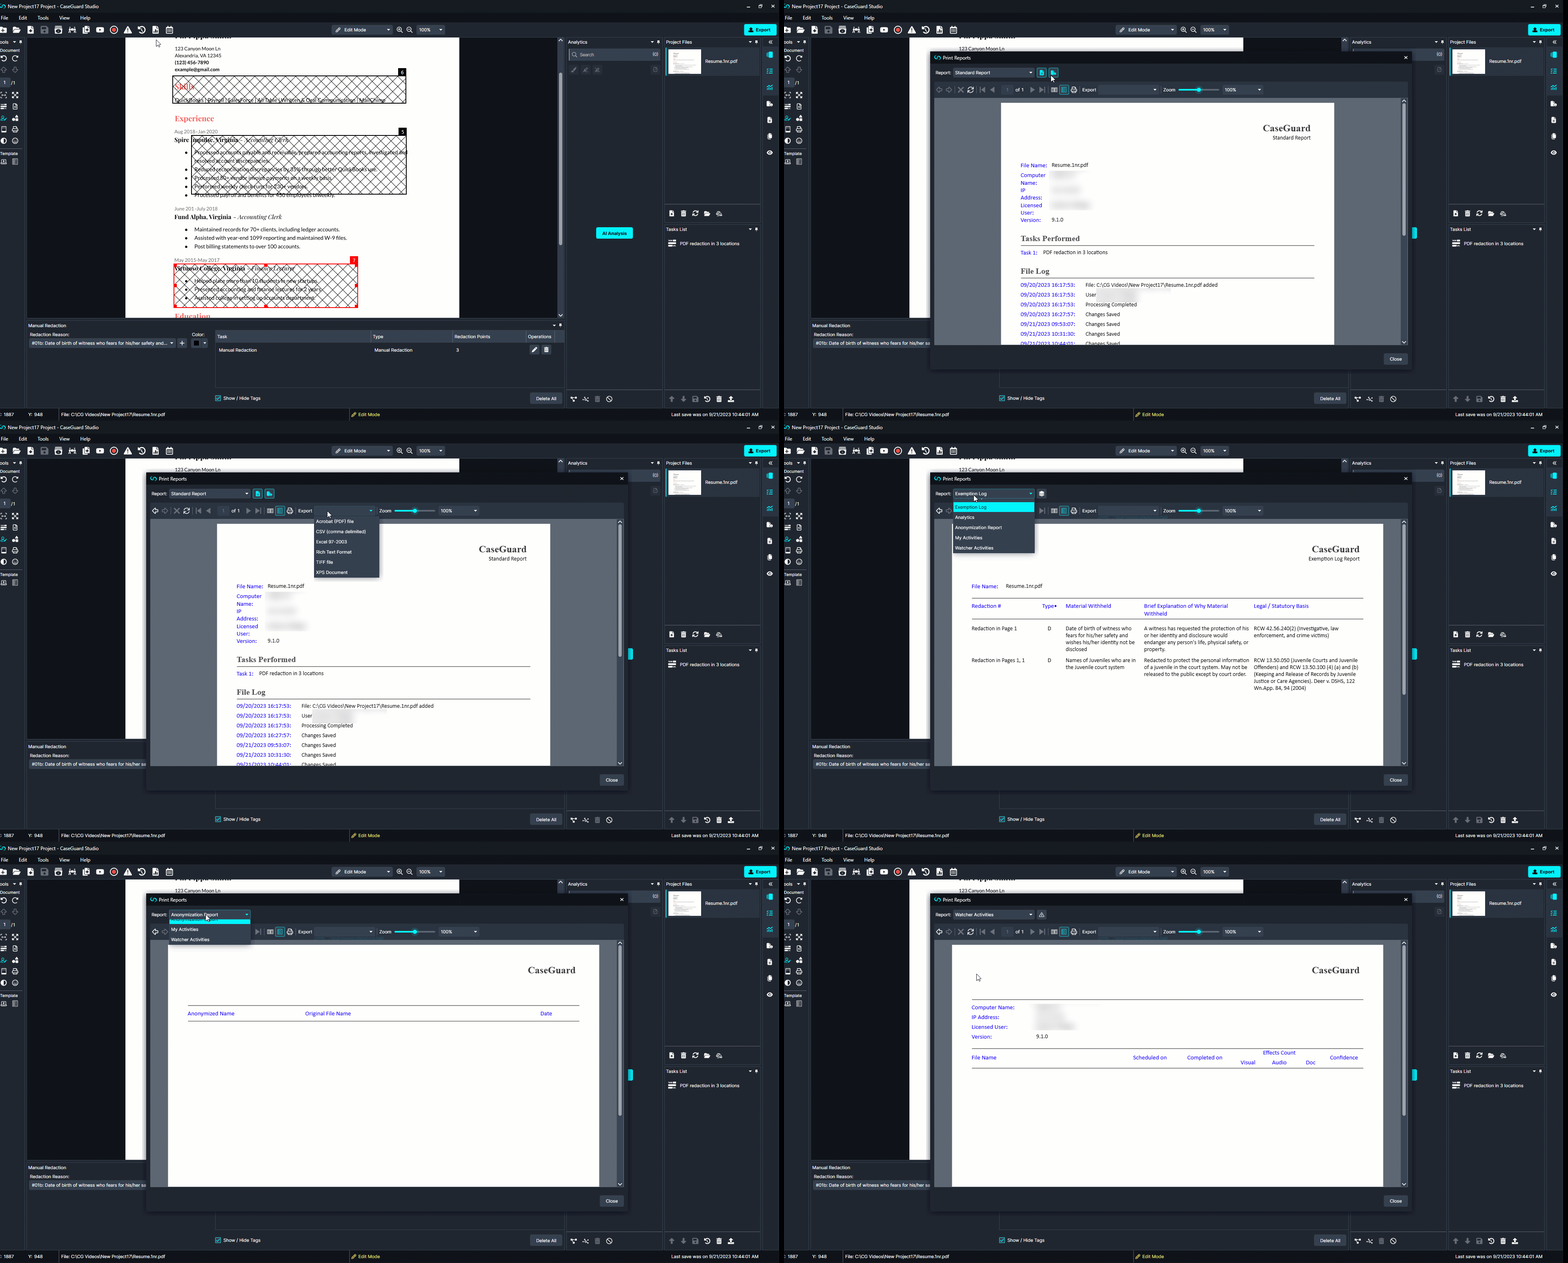
Select between six report settings. Each report can be edited using the five formatting tools (depending on the selected report):
- Click
 File Log to include file logs for your file within your report.
- Click
 Metadata to include information about your files’ metadata in the report.
- Click
 to show or hide data and time data in your report.
- Click
 to show files without objects or effects.
- Click
 to group time points.
Standard Report:
The standard report automatically generates a report that tracks:
- All file names
- Tasks performed
- Logs showing when and how files were modified
- Metadata
- The current time/date when the time/data button is selected
Using the five formatting tools, you can adjust what data your report includes.
Exemption log
The exemption log generates a report that explains why redactions occurred. This report is based on the redaction reasons you selected when applying your redactions. This is an ideal report for anyone who has to maintain a chain of custody or who is logging redaction reasons as they work. The report shows:
- Redaction numbers
- Page number
- The file type
- Material withheld
- Brief explanations for why something was redacted
- Legal/statutory basis
Privilege Log
The privilege log generates a report that explains why redactions occurred on a project level. This report is based on the redaction reasons you selected when creating the project or reasons added from the File Privileges. This is an ideal report for anyone who has to maintain a chain of custody or who is logging redaction reasons for a whole file. The report shows:
- Redaction numbers
- Page number
- The file type
- Material withheld
- Brief explanations for why something was redacted
- Legal/statutory basis
Analytics Report
The Analytics Report generates a report covering information based on what you analyzed in your document, such as:
- File Name
- Specific text analyzed
- The type of text analyzed
- The count/how many times the specific text was found and analyzed in your document
- File Log
- Metadata
- Date/Time for the report
Anonymization Report
The Anonymization Report generates a report based on the files you anonymized and lists:
- The Anonymized Name of each document
- The Original File Name of each anonymized document
- The Date each file was anonymized
- Date/Time for the report
My Activities Report
The Activities Report generates a report on information associated with your CaseGuard activities:
- File Name
- When a CaseGuard Task was scheduled
- When a CaseGuard Task was completed
- Visual effects count in each task
- Audio effects count in each task
- Document effects count in each task
- Confidence of AI in each task
- Date/Time for the report
Toolbar Overview
The View & Print Reports popup has various tools users may utilize to examine/configure reports.
History
- Click
 to navigate back in history
- Click
 to navigate forward in history
Refresh Tools
- Click
 to refresh the report so you can see the most up-to-date changes
- Click
 to stop refreshing
Page Navigation
- Click
 to navigate to the first page
- Click
 to navigate to the previous page
- Click the text field to manually enter what page you want to navigate to
- Click
 to navigate to the next page
- Click
 to navigate to the last page
Printing and viewing Tools
- Click
 to pull up the page setup popup. This will allow you to configure the print settings, such as page orientation, size, and margin settings for your report.
- Click
 to switch between interactive view and print preview.
- Click
 to print your report.
- Adjust the slider to zoom in and out of your document.
- Use the dropdown to select preset zoom amounts.
Export
- Click the Export dropdown to open a list of different file formats to export the desired report.
- File Explorer should immediately pop up and allow you to input a name and location for your file.
Let’s see it in action!
![Video Thumbnail]()
Play Video