The AI Image Analysis function employs Artificial Intelligence to analyze and redact objects in images from an unlimited number of documents at once! This feature drastically reduces, if not eliminates, the amount of manual redaction required to complete your redaction process in documents with images.
If you are familiar with the AI detection feature in Video Redaction within CaseGuard Studio, performing AI Image Analysis within Bulk Processing will be second nature to you! The AI Image Analysis similarly requires you to select the type of objects you want the system to redact. You can select one or all from 18+ selections. CaseGuard users find faces/heads, images of checks, and payer/payee information most helpful when redacting in Bulk.
Users who need to redact documents that include photographs of applicants or images of their signatures, such as in resumes, reports, and certificates, will find performing redactions in the Bulk AI Image Analysis feature very helpful. Moreover, this function has a wide range of applications for various use cases involving images in documents.
Follow the steps to Redact using Bulk AI Image Analysis!
- Open CaseGuard Studio on your machine. You can create a new project, open an existing project, or select “Bulk Redaction” from the Get Started Window to begin.
- Select the Bulk Processing
 icon from the Shortcuts Bar.
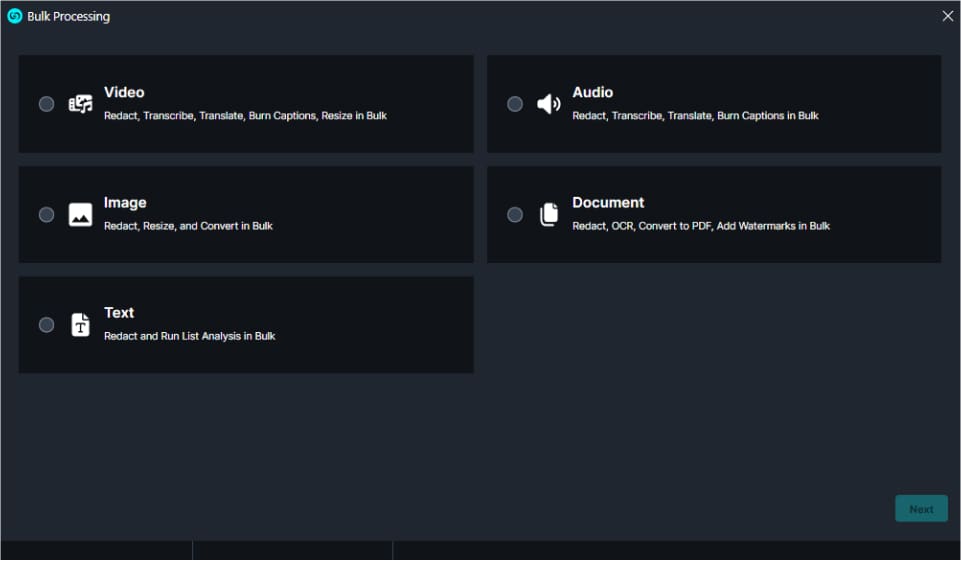
- Select “Documents” from the menu.

- Select “Next,” and you will be presented with various processes that can be performed on documents in bulk, including optical character recognition (OCR), AI image analysis, and template redaction.
- Select “Perform AI Image Analysis.”

- Click “Next” and the Image Redaction window will open. Choose what objects to redact within the text. For example, you can choose personally identifiable information like faces, screens, license plates, notepads, etc.

- Then, go through the redaction wizard, customizing your redactions however you want.
- Click “Next” and begin to add your files to CaseGuard Studio. There is no limit to the number of files that can be added to Bulk Processing, making it the perfect tool for efficiently accomplishing large tasks.

- Then select “Next” and then “Start” to begin the redaction process.
- As your files are redacted, they will appear in the Project Files Panel in the top right of your workspace.