Video Section
CCTV footage in malls and hospitals can capture hundreds or thousands of faces daily, enhancing security. However, editing this footage can become a time-consuming task, underscoring the importance of diligence and accuracy. For example, after using AI Automatic Detection to blur over a thousand faces in an hour-long video, you may need to un-blur three specific individuals. But with their faces already pixelated, identifying them in the crowd poses a challenge.
In document redaction, color coding is an effective method for distinguishing types of sensitive information. However, if you forgot to assign the correct colors during redaction and now need to review the redactions clearly to select the appropriate ones, there’s a convenient feature that lets you do this with just a click.
Edit view modes for video redaction
- Add your video to CaseGuard Studio.
- Begin applying redactions Manually or with AI Automatic Detection.
- Best Practice: Using more than one tool gives you the most control over placing redactions. Especially in complicated videos like BWC footage that may be shaky or dimly lit.
- In the Shortcuts Bar, you can select which view mode you want to use.
- The default view is Edit Mode. Each redaction will have a colored outline and the redaction effect will be applied.
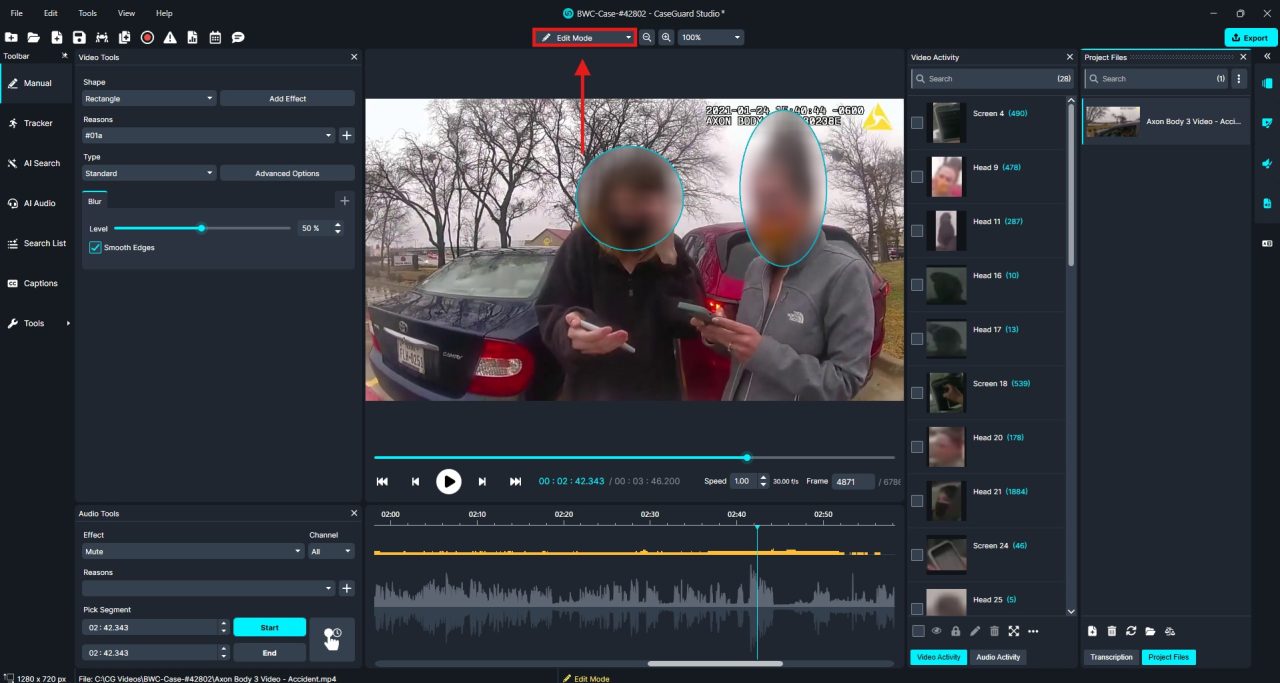
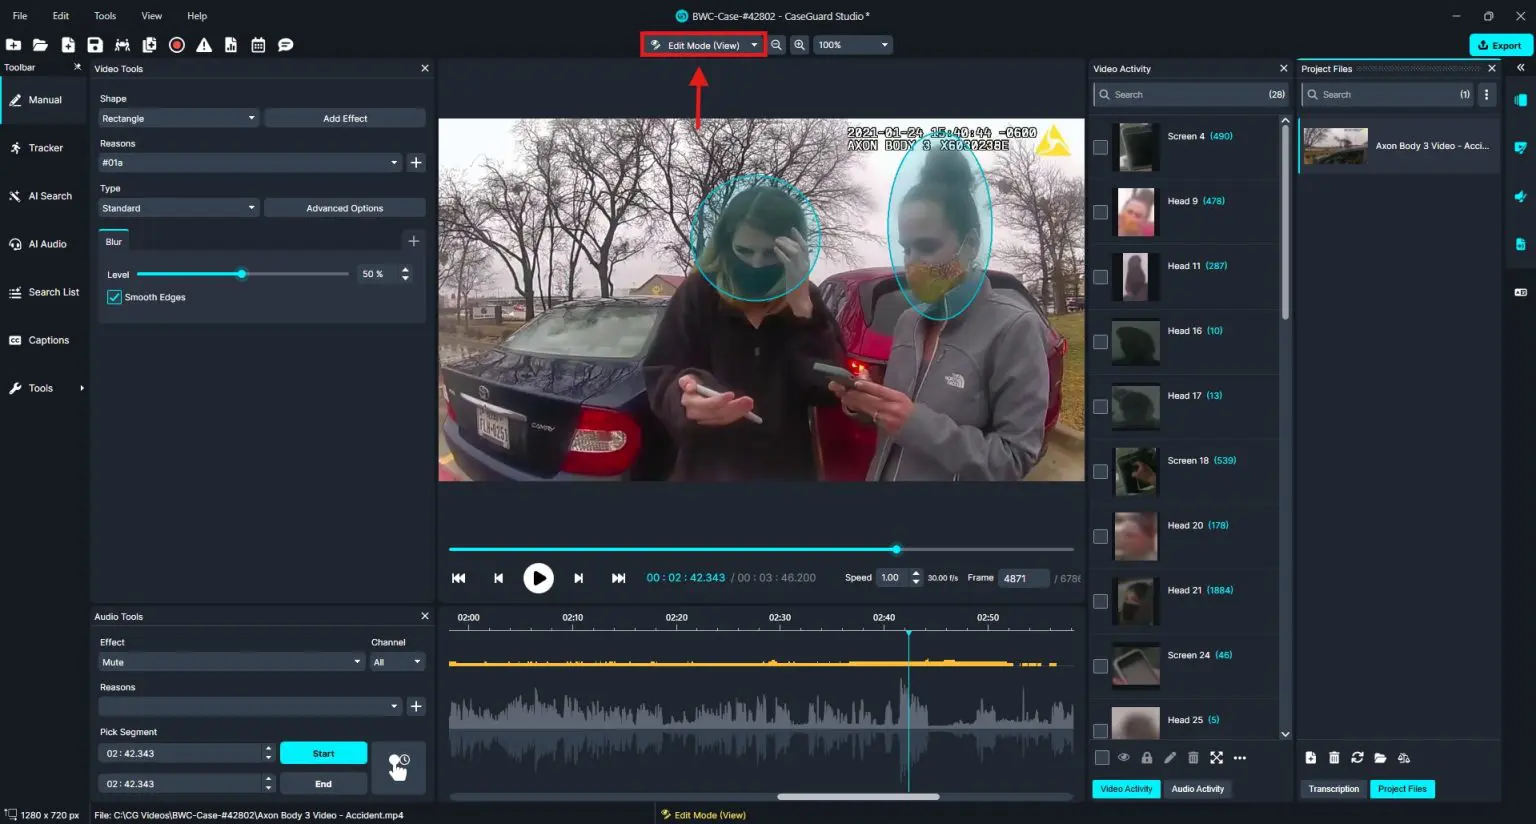
- With Edit Mode (View) you can see behind the redaction, making it easy to ensure you are redacting the correct object.
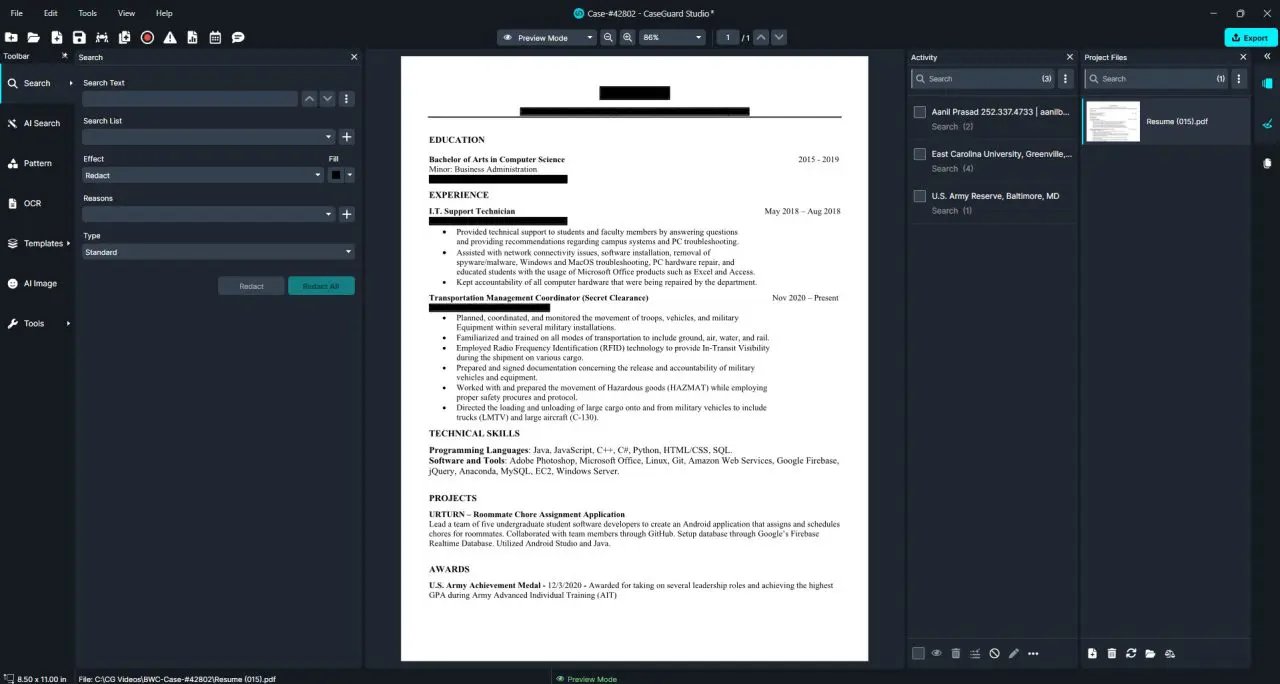
- The Preview Mode removes the colored outline around the redaction, showing what the video will look like upon Export.
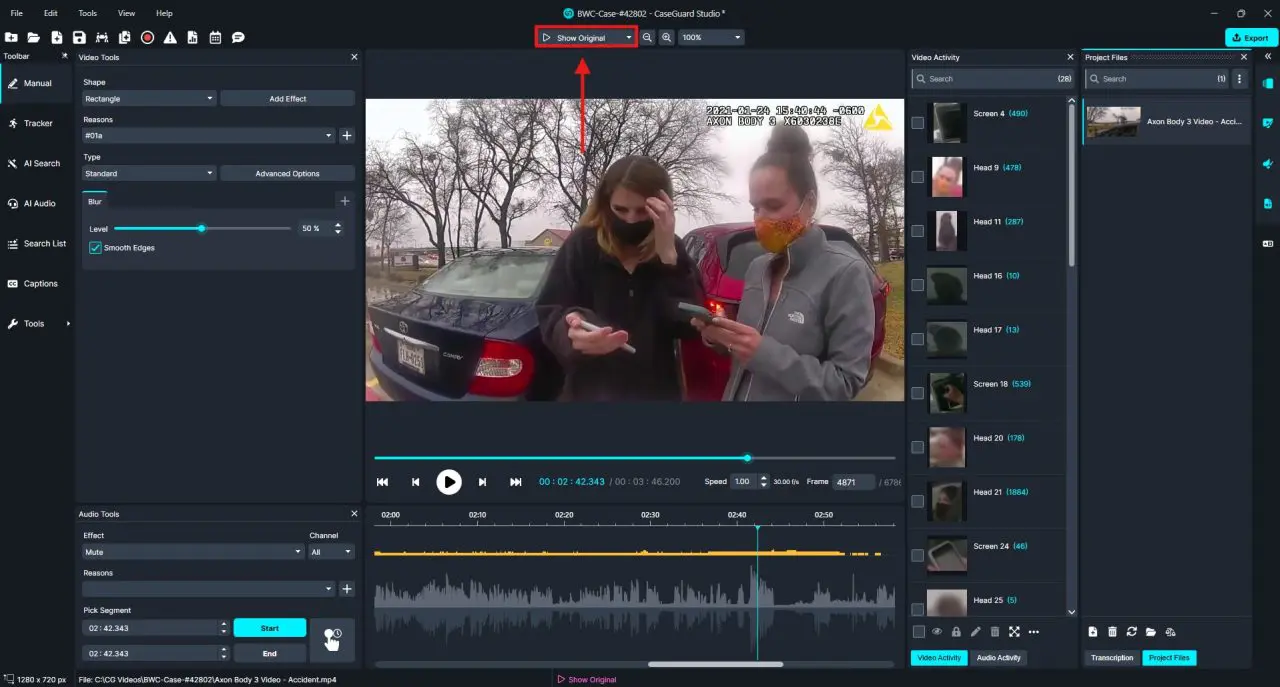
- Show Original makes it possible to see the video without any redactions without needing to open the video in an external media player or disable the effects.
Edit view modes for document redaction
- Add your document to CaseGuard Studio.
- Begin applying redactions manually or with AI Text Analysis.
- In the Shortcuts Bar, you can select which view mode you would like to use.
- The default view is Edit Mode, where each redaction, whether a word, phrase, or logo, will have a grid box.
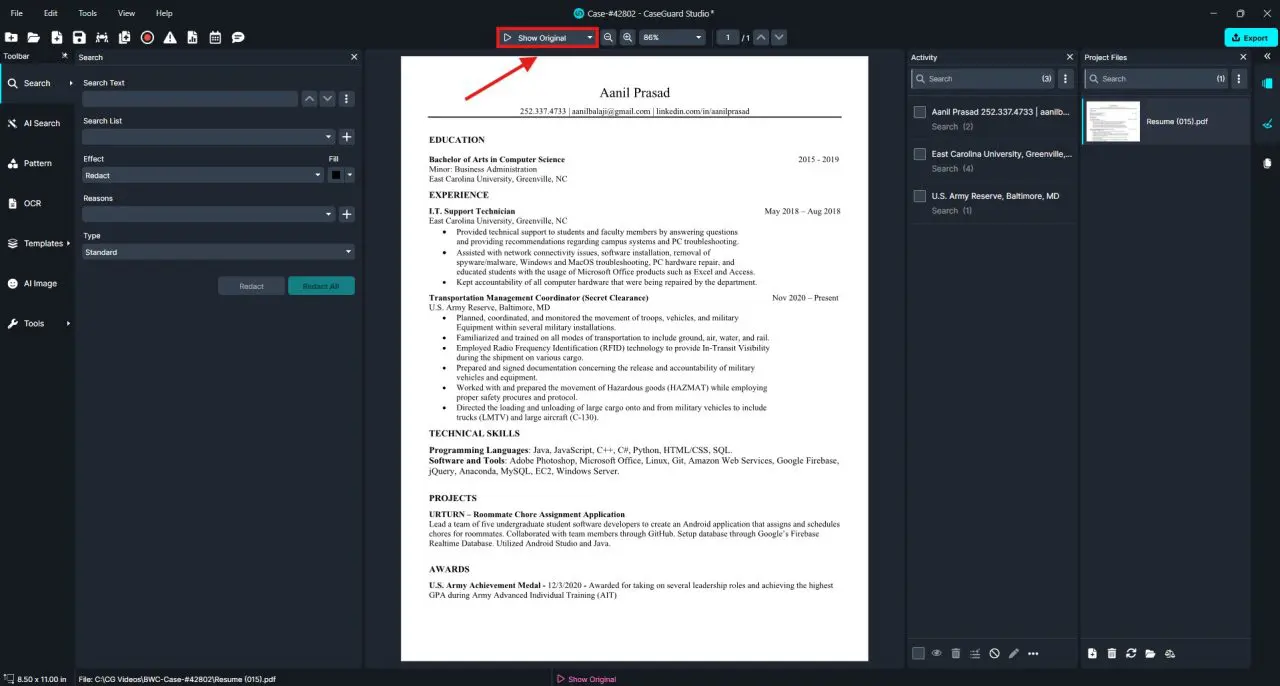
- With Edit Mode (View) you can see behind each redaction box, making it easy to ensure the correct information is redacted.
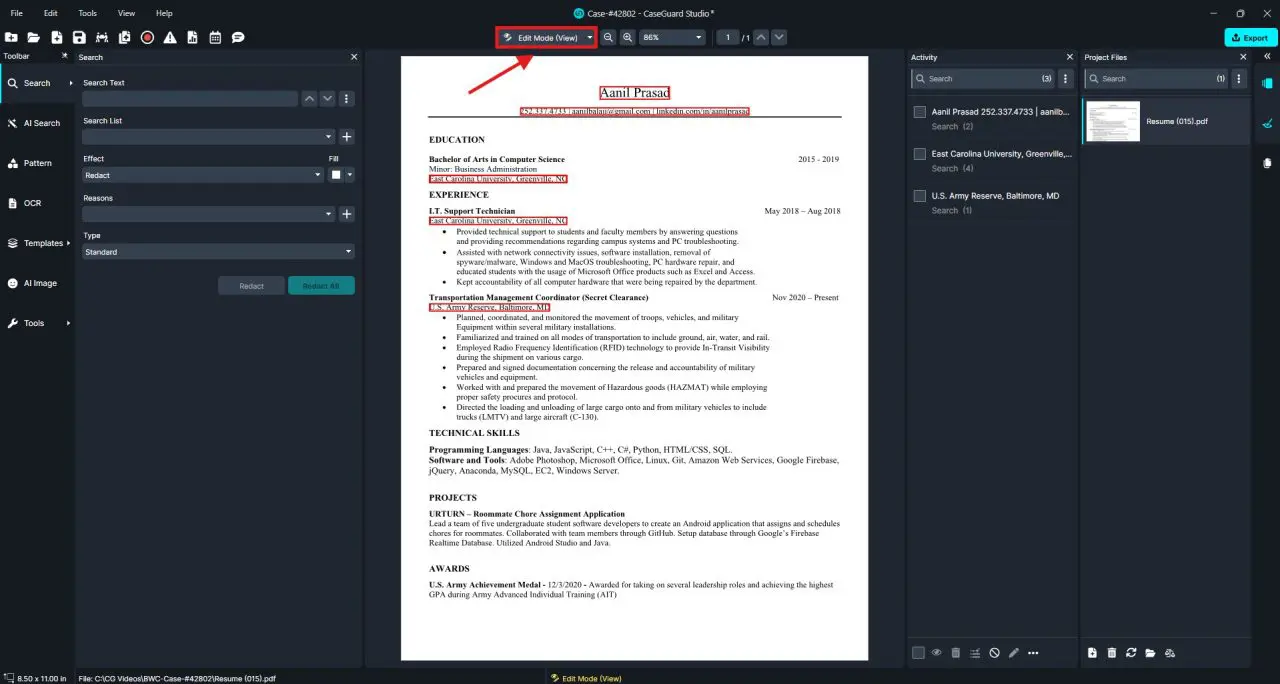
- The Preview Mode fills the redaction boxes and applies the redaction reasons on top, allowing you to preview how the final exported file will look.
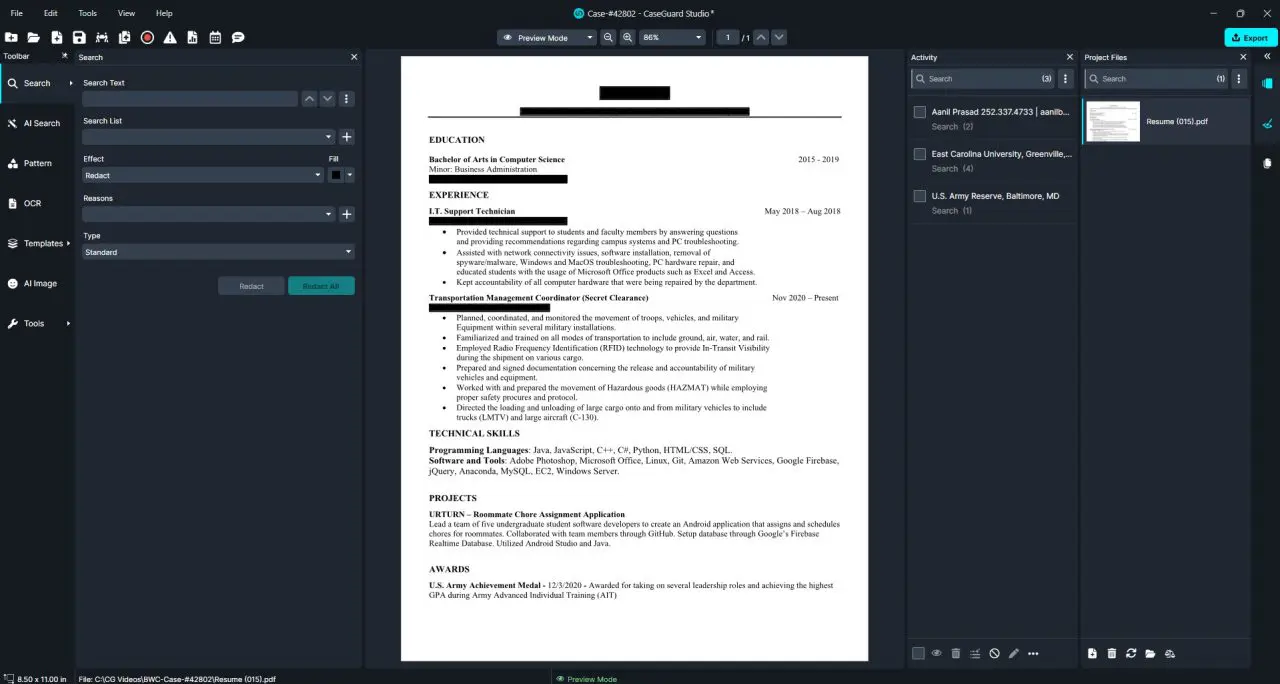
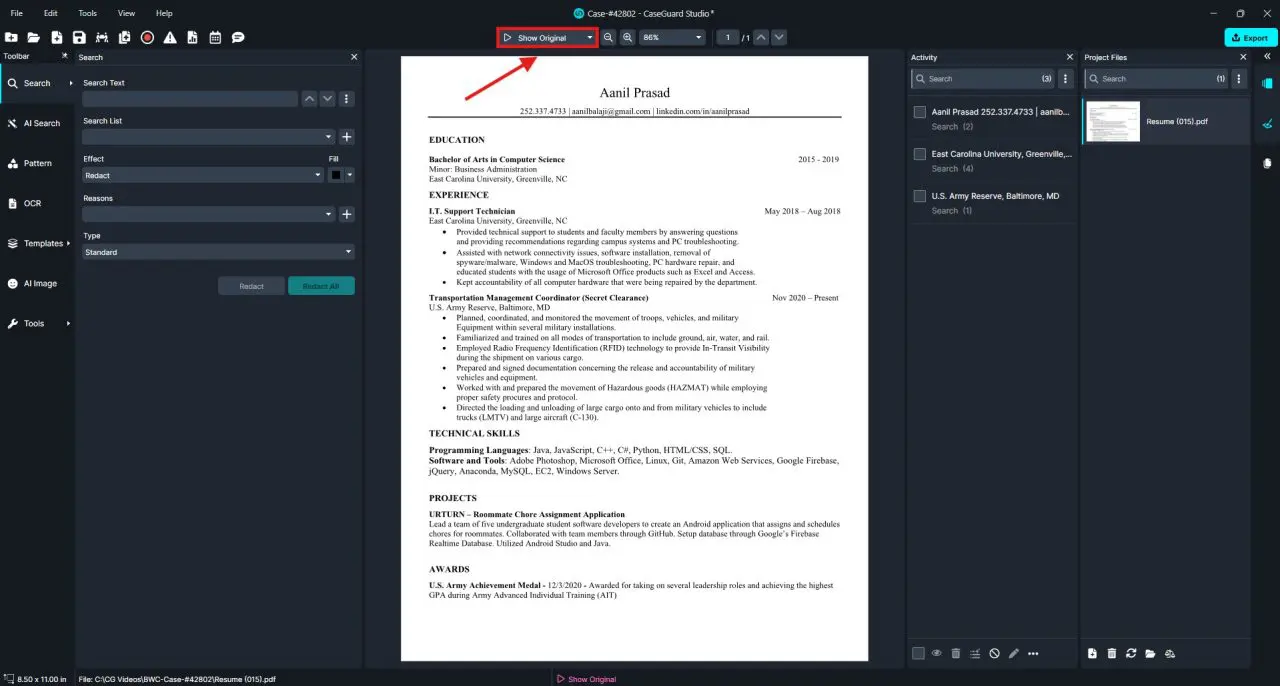
- Show Original makes it possible to see the original unredacted document without opening the file outside of CaseGuard Studio.
Conclusion
CaseGuard’s view modes make reviewing redactions faster and more accurate by letting you switch between the editor’s view and the final exported view with a single click. Whether you’re verifying AI-generated redactions, reviewing manually applied edits, or checking the final appearance of a document or video, these modes help you confidently confirm that the correct information is redacted before exporting.
Was this article helpful to you?
No
Yes
1