Automating Transcription for Legal Teams Using CaseGuard
For legal professionals, accurate and timely transcription is essential for managing case files, depositions, and client communications. Manually transcribing audio or video files can be time-consuming and prone to errors, making automation a valuable tool for improving efficiency. By leveraging CaseGuard’s watcher feature, legal teams can streamline the transcription process, ensuring that important recordings are quickly converted into text for documentation and review.
In this guide, we will walk through how to automate transcription using CaseGuard’s watcher feature. This functionality allows you to drag and drop files into a designated folder, automatically generating transcriptions while also supporting redaction and translations. By the end of this tutorial, you will have an automated workflow for your transcription process.
Setting Up Automated Transcription in CaseGuard
Open CaseGuard Studio
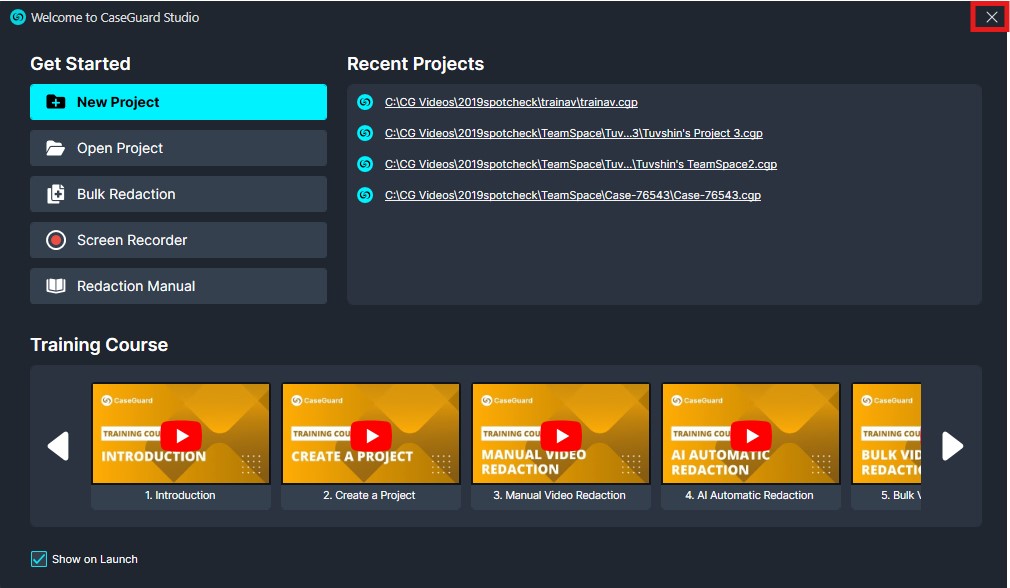
- Launch CaseGuard Studio and close the welcome window. A new project is not required for this workflow.

Enable the Watcher Panel
- Navigate to the right-hand toolbar and ensure the watcher feature is enabled. The watcher icon is represented by an eye symbol.

Create a New Watcher
- If you do not already have a watcher, click the blue “Add Watcher” button. Assign a descriptive name to your watcher, such as “Transcription Watcher,” to easily identify its purpose.

Set Up Input and Output Folders
- Create two folders: one for input files (audio/video requiring transcription) and another for output files (completed transcriptions).

- Assign these folders in the watcher settings by selecting the appropriate input and output directories. Click “Next” to proceed.

Select File Types for Transcription
- Choose the file types you wish to process. Select either “Video” or “Audio,” then click “Next.”

Configure Transcription Settings
- Select “Transcription” as the processing function. You may also enable additional options, such as AI Video or AI Audio, if needed. Click “Next.”

- Choose the Cloud-Based Model for the most accurate and efficient results. If using an offline key, select the local model instead.
- Configure language settings and specify the number of speakers in the file (if unsure, setting it to 10 is recommended).

- Enable the “Generate Transcription Report” checkbox, then click “Next.”

Review and Apply Settings
- A summary window will display your watcher settings. Review the details, then click “Next” to apply.

Start the Transcription Process
- Drag and drop audio or video files into the designated input folder.

- CaseGuard will automatically process the files, moving completed transcriptions to the output folder.
Monitor Progress
- Check the “Scheduled Tasks” button (located in the top toolbar with a calendar icon) to monitor progress.

- If a file lacks audio, an error message will be generated.
Retrieve and Utilize Transcriptions
- Once processing is complete, locate the output folder, where each transcribed file will be saved as a PDF.
- Open the PDF, review the transcription, and save or distribute it as needed.
Conclusion
By setting up an automated transcription workflow in CaseGuard, legal teams can significantly reduce the time spent on manual transcription, allowing them to focus on case analysis and client interactions. With this streamlined process, any new files added to the input folder will be transcribed automatically, ensuring a consistent and efficient documentation process.
Was this article helpful to you?
No
1
Yes