Overview
With CaseGuard Studio’ closed captions feature users can easily generate accurate and synchronized captions for their audio/video files. The closed captions tool uses the transcription of the file to burn the captions with the corresponding timings. The user can customize the caption options to adjust the:
- Alignment
- Font size
- Font color
- Background color
- Background Opacity
One example of when to use the closed captioning feature would be on an audio recording of a traffic stop where there is a lot of background noise. Captions can be added to the audio in order to help follow along with what is being spoken.
Follow the steps to Burn Closed Captions on your media file!
- Add your file to CaseGuard Studio.
- Run AI Audio on the audio file.
- At the bottom of the Transcription panel click the
 Burn Captions to File icon.
 - A Closed Captioning Options window will open and from here you can adjust the
- alignment
- font color
- font size
- background color
- background opacity of the captions
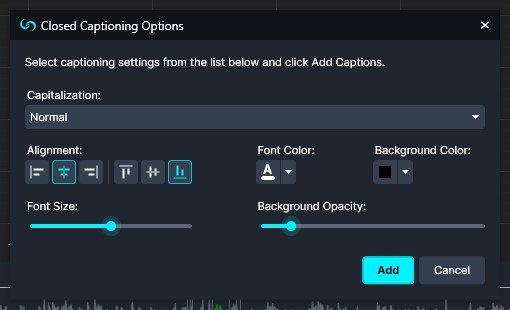
- Click Add to add the captions to the audio file.
- You can review the captions by clicking the Closed Captioning icon from the toolbar on the left of the screen.
- You can review the captions by clicking the
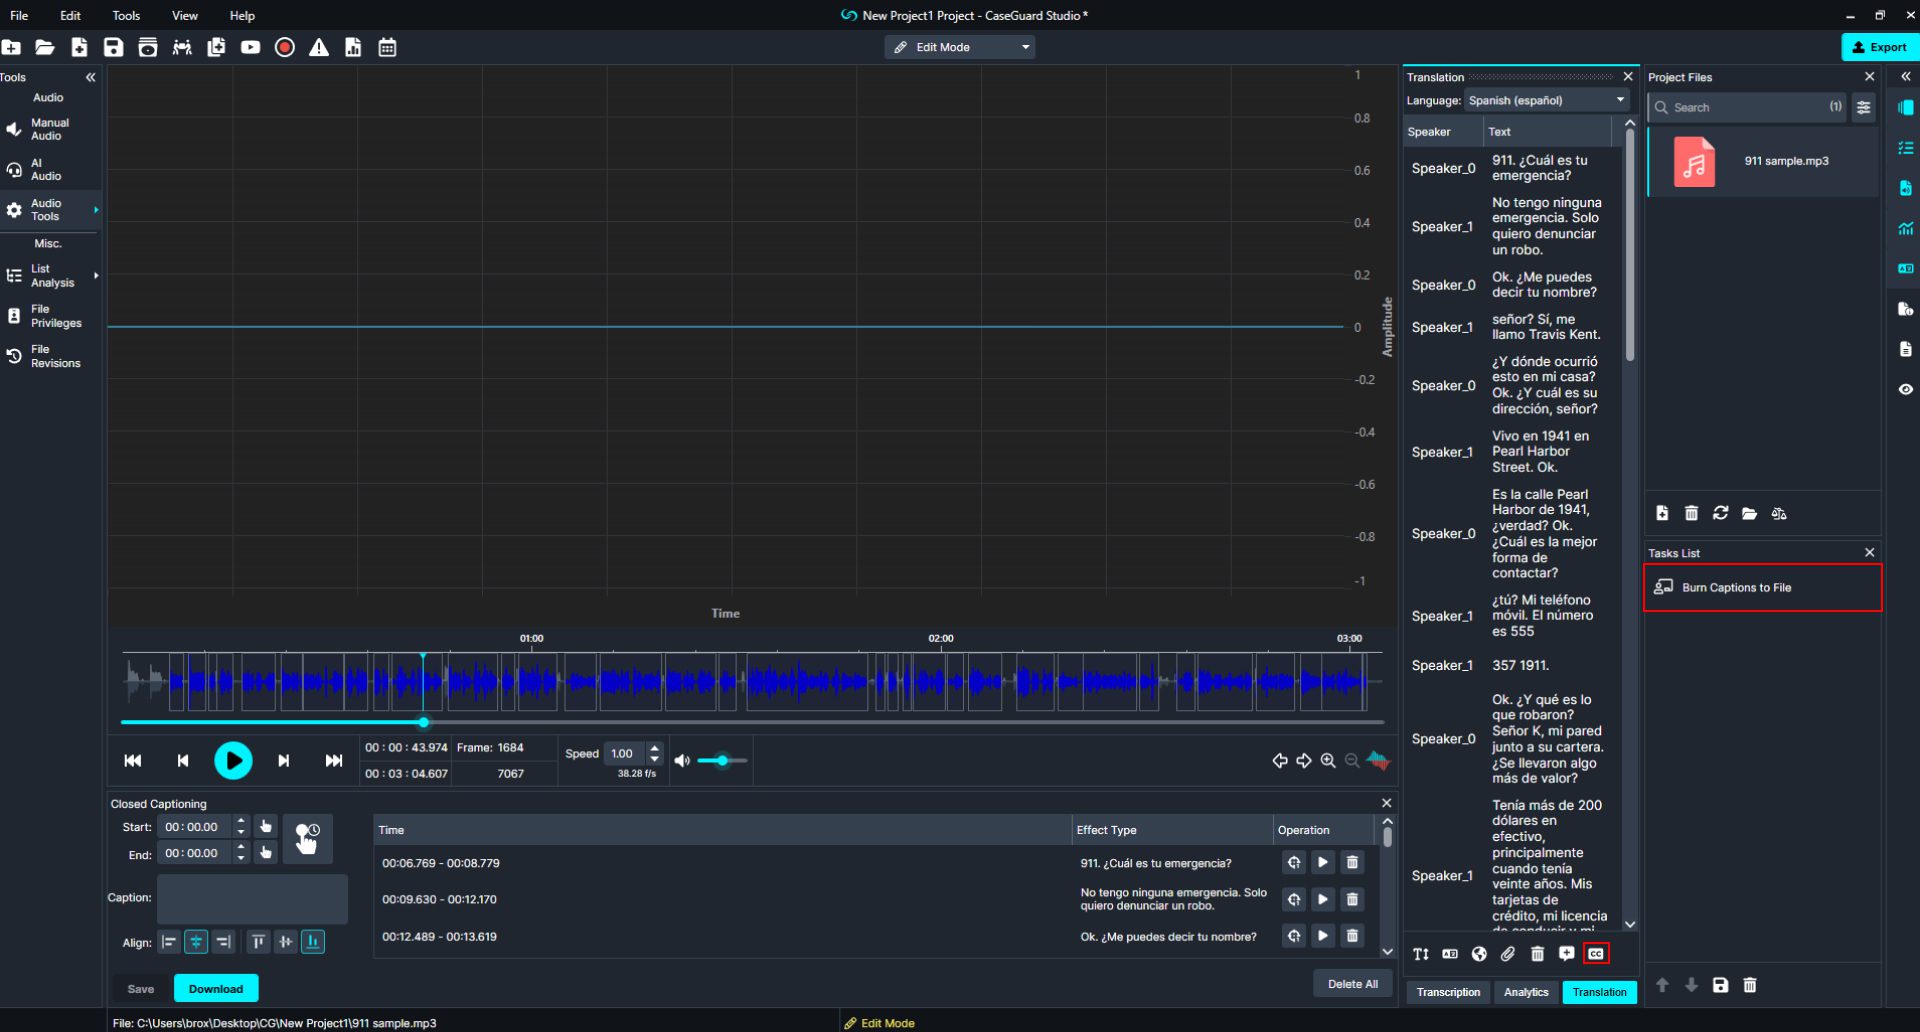
- Now the Burn Captions to File task is added to the Tasks list.
- click Export from the Task List Panel or the Export button from the Shortcuts Bar to export your file.
- Open the new file and it will show the captions while the audio plays.
Let’s see it in Action!

Play Video