Overview
The Audio “Translation” feature utilizes advanced machine learning algorithms to accurately translate spoken words in audio/video recordings. The intuitive interface allows users to select the source and target languages, making the translation process seamless and user-friendly. Within CaseGuard, you can automatically translate your transcribed audio into 74 languages.
CaseGuard users looking to translate an interview with a Spanish speaker can do so in minutes without any manual work. This feature is most useful for users dealing with multilingual individuals at work- either in a school setting or for investigative purposes.
Follow the steps to Translate Audio!
- Add your audio or video containing audio in CaseGuard Studio.
- Run AI Audio on your file:
- Select the “Detect & Transcribe Multiple Languages” option if the file language is unknown.
- Select the number of speakers.
- Click “Transcribe.”
- Next, pin the “Translation” panel from the right side of the screen or from the View tab > Panels > Translation.
- Click “Automatic Translation”
- The “Automatic Translation” window will appear
- Select the “Source Language” of the file and the “Target Language” to be translated to.
- Click “Translate”
- Once processed, the translation of your transcription will appear in the Translation Panel.
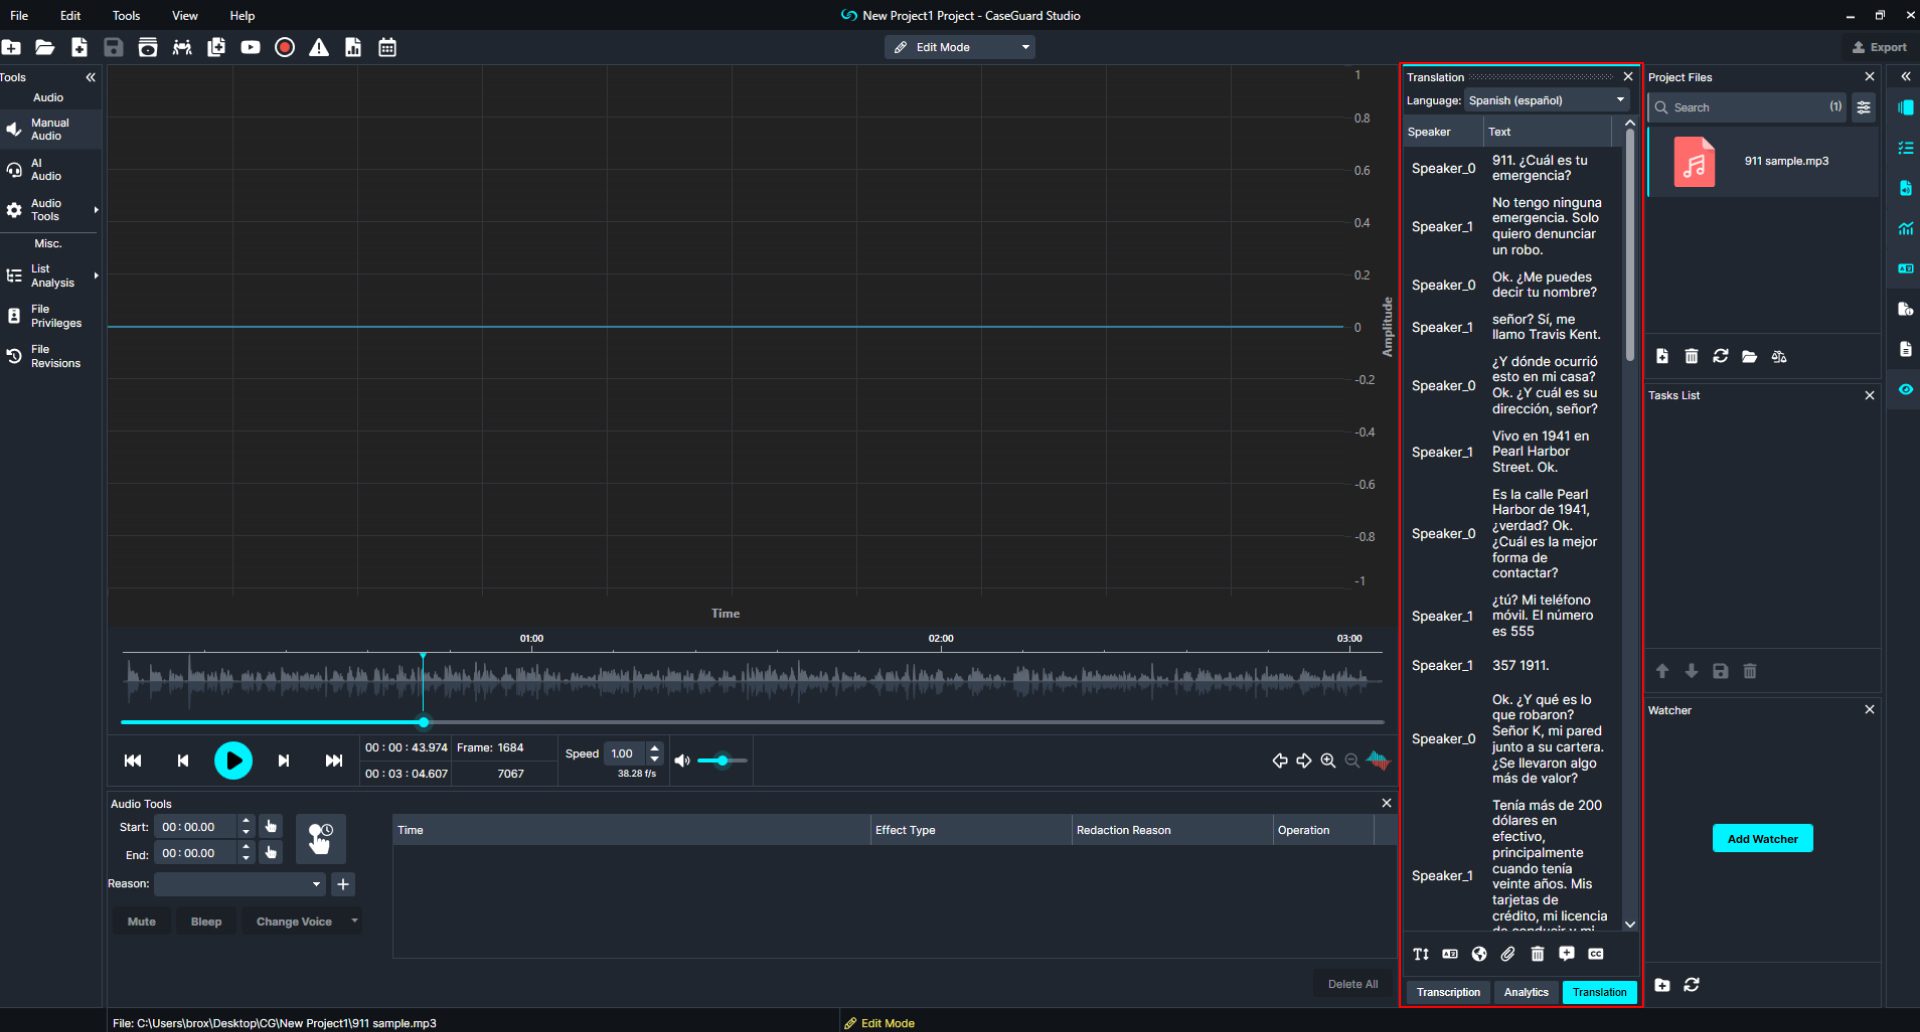
- Under each Translated sentence, you can:
- “Mute”

- “Bleep”
- “Change Voice”
- “Edit the translation”
- “Mute”
- At the bottom of the panel you have the option to:
- Increase/decrease font size within the Panel
- Automatic Translation: Translate into another language
- Manual Translation: Add your own translation
- Attach Translation File: Upload your own translation
- Delete Translation: Delete the entire translation
- Add Sentence: Edit a sentence within the translation
- Burn Captions to File: Attach translation inside the video
- Once you have reviewed the Translation, click Export from the Task List Panel or the Export button from the Shortcuts Bar to export your redactions.
Let’s see it in Action!

Play Video