We just finished the redactions on our video, but when we export our file, the redactions are not aligned where we applied them. How can I fix this?
In this guide, we will walk you through how to easily fix the issue of redactions not being aligned upon exporting your video. This problem typically occurs due to the video file not being exported correctly or encountering issues during the import process.
Follow These Steps to Fix Video Redactions Not being Aligned Upon Export
-
First, open CaseGuard and give your project a name your project.
-
Once the new project is created, you will be prompted to add files. Add the original file (without redactions) where the redactions are not lining up from the original source.
-
After adding the video, open your Windows File Explorer and navigate to the project folder containing the video where the redactions are misaligned.
-
Inside the project folder, open the History folder.
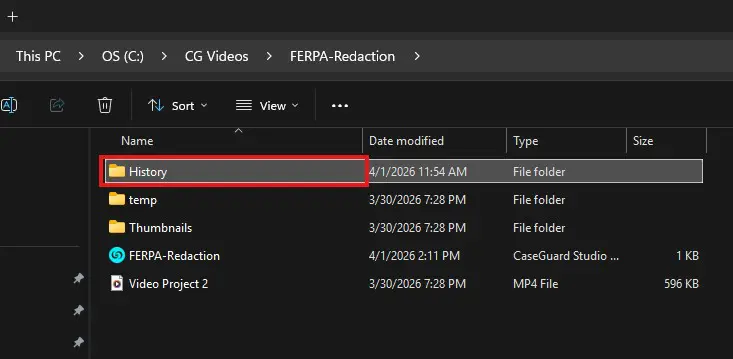
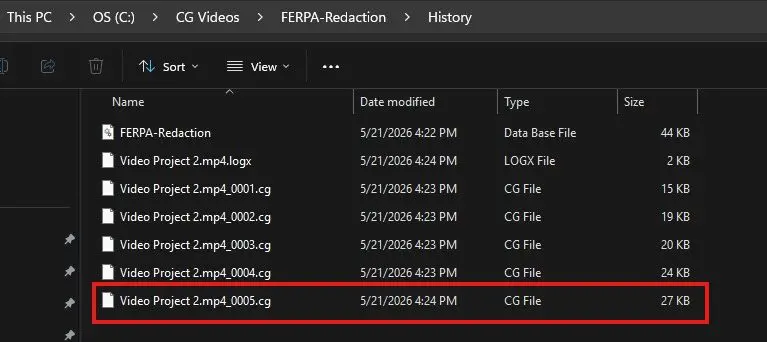
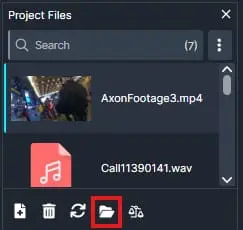
Applying a Copied History File in CaseGuard:
In this section, we’ll cover two different scenarios for applying a copied history file to your new project, depending on whether your video finished uploading before or after you copied the history file.
Scenario 1: The video finished uploading before the history file was copied
- Open the project folder.
- Select the History folder.
- Paste the copied version history into the folder.
- Close the folder.
- In CaseGuard, go to the bottom-left and select Version History.
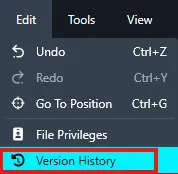
- Click the revolving arrow next to the history file you added to apply it.
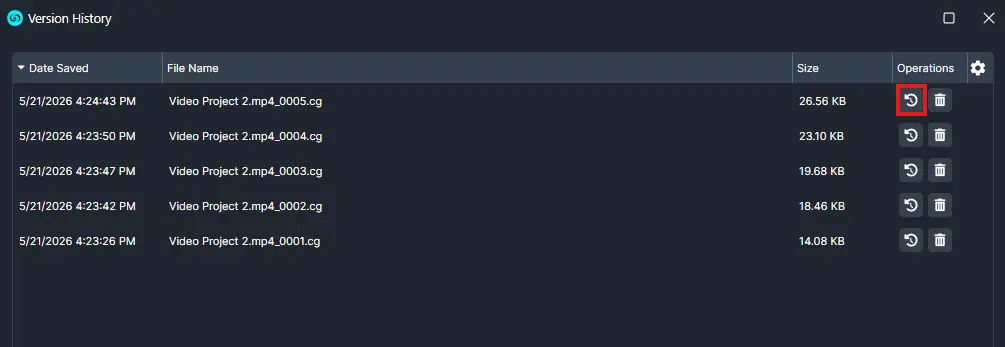
-
Scenario 2: The history file was copied before the video finished uploading
- Open the project folder.
- Select the History folder.
- Paste the copied history file into the folder.
- Close the File Explorer window.
- Once the video finishes uploading, click the refresh icon in the Project Files panel to ensure the history file is recognized.
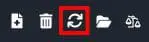
Your work has now been restored to your file. Check the redactions to ensure they are correctly aligned, then proceed with the export.
Conclusion
Your redactions should now be properly aligned upon exporting! If you encounter any difficulties during this process, don’t hesitate to reach out. Our support team is here to assist and provide quick solutions to ensure your workflow remains smooth.
Email us at [email protected], and we’ll be happy to help.
Was this article helpful to you?
No
Yes