Use Case
If you’re encountering the error “Object must be a root directory (“C:\”) or a drive letter (“C”)” during export, it means CaseGuard is trying to access a network drive that isn’t assigned a drive letter. This can cause export issues as CaseGuard requires a drive letter or root directory for file paths.
Follow these steps to fix Object must be a root directory (\”C:\\\”) error!
If you have already created a project and are not able to export due to this error, we will need to move your project to a drive location that has a letter or assign the drive you are using a letter. To assign the drive location a letter you will need Administrator permissions. We recommend following this Microsoft article to assign a drive a letter. If needed you can also move the default location of your storage folder by following the steps in this article. In this article, we will cover how to move your CaseGuard project to a drive location that already has a letter.
- First, open up the project you are not able to export currently.
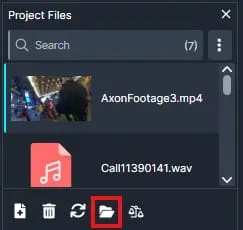
- Once opened, navigate to your project files panel and select the Open Project Folder icon to open your Windows file explorer.
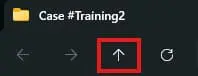
- Now a Windows file explorer window should have opened, select the up arrow at the top of the Windows file explorer to go back one folder.
- Once you are in the next window right-click the project folder you are currently working on and select Copy.
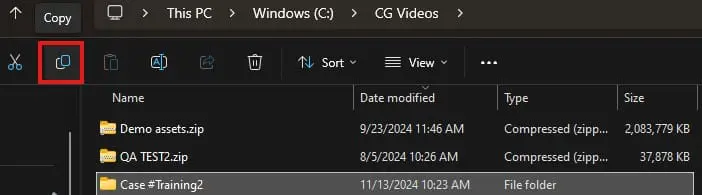
- Once copied navigate to C:\CG Videos and paste your copied folder here.
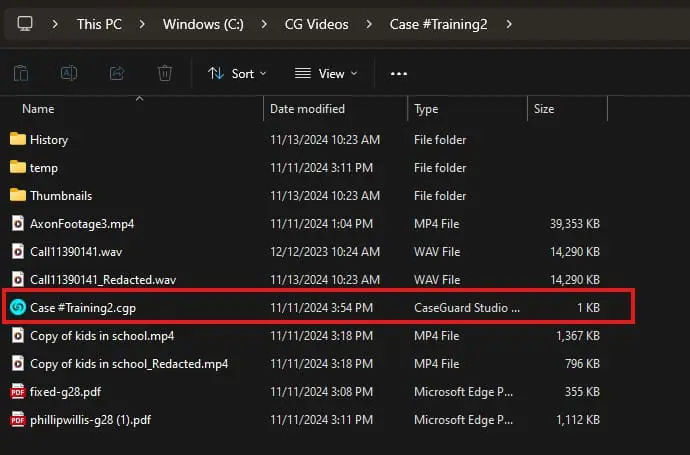
- Once pasted open the folder and double-click the .CGP file to open it inside CaseGuard.
- Once opened inside CaseGuard select the file you would like to export and select Export in the top right of your CaseGuard.
Conclusion
Your file should now be able to export successfully. Once the export process is complete, click the Open Project Folder icon to locate your newly exported file. If you continue to experience any issues or have further questions, please don’t hesitate to reach out to us at [email protected]. Our support team is always available to provide a quick solution to your problem.
Was this article helpful to you?
No
Yes