Overview
This article explains how to use CaseGuard Studio’s Bulk Edit feature to quickly modify redactions across multiple objects in a video by selecting, filtering, and updating their properties before exporting.
Let’s get started
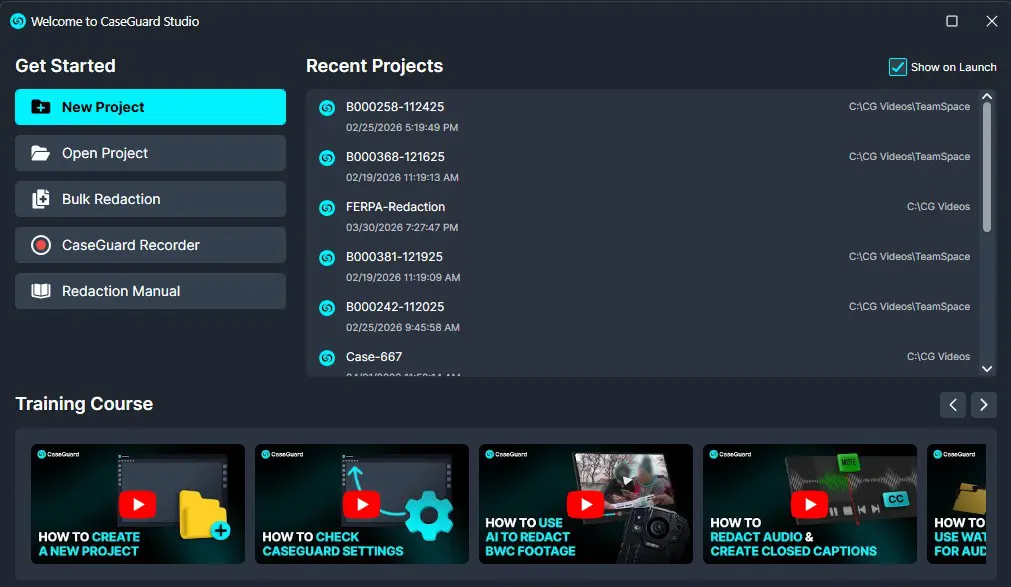
- Open CaseGuard Studio and click the “New Project” button.
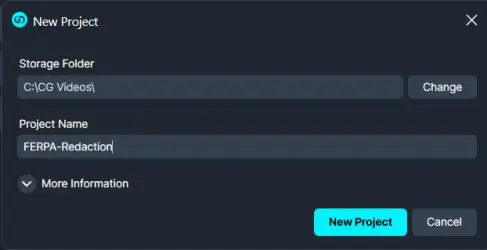
- In the New Project pop-up, select the Storage Folder for your project and give it a name.
- Best Practice: Give your project a descriptive name that will allow you to identify it easily when trying to open an existing project at a later date.
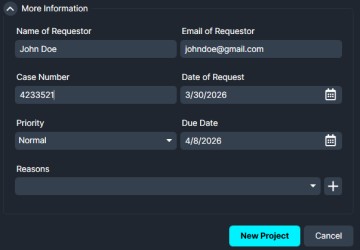
- Under the More Information dropdown, you can add information that will be included in the automatically generated reports.
- Best Practice: Adding the information from the More Information dropdown when you create a project saves you time when producing Reports on why you performed redactions on these files.
- Click the “New Project” button to finish creating the project.
Performing Bulk-Edit
- Follow the instructions in this article to automatically redact Faces, License Plates, Screens, Papers, etc. from your video.
- Do not Export, as you still have edits to make after running the AI Video.
- Open the Video Activity Panel so that detected objects are displayed as image thumbnails, as shown below:
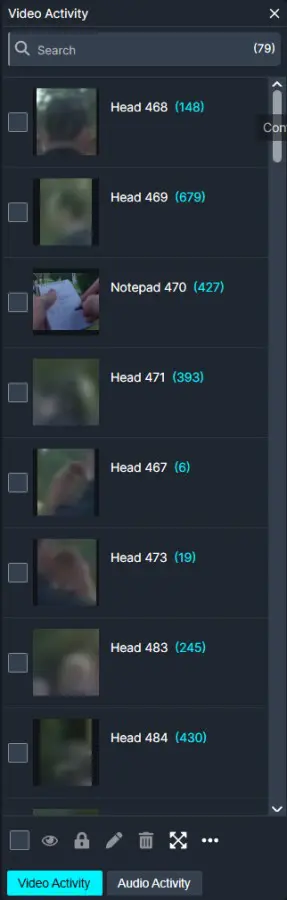
- To update all objects in the Video Activity Panel, click the “Select All” checkbox at the bottom of the panel.

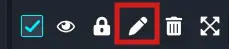
- Next, select the “Edit”
 icon.
icon.
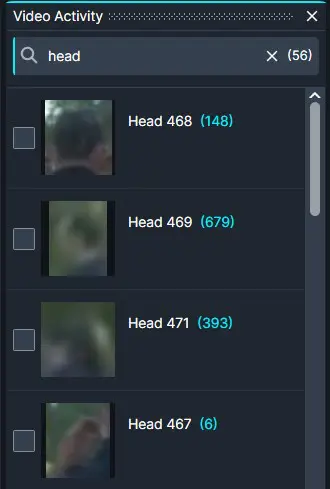
- To update objects by category, click on the “Search Bar” at the top of the Video Activity Panel and enter the type of object you would like to redact.
- For example, for faces/heads, type “Head” into the Search Bar.
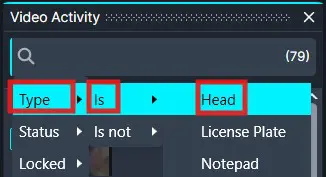
Or you can filter the search bar to show all results with the specific category.
- To update all objects in the search category, click the “Select All” checkbox at the bottom of the panel.
- To update specific objects, click the checkbox to the left of each object.
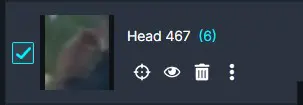
- Next, select the “Edit” icon.
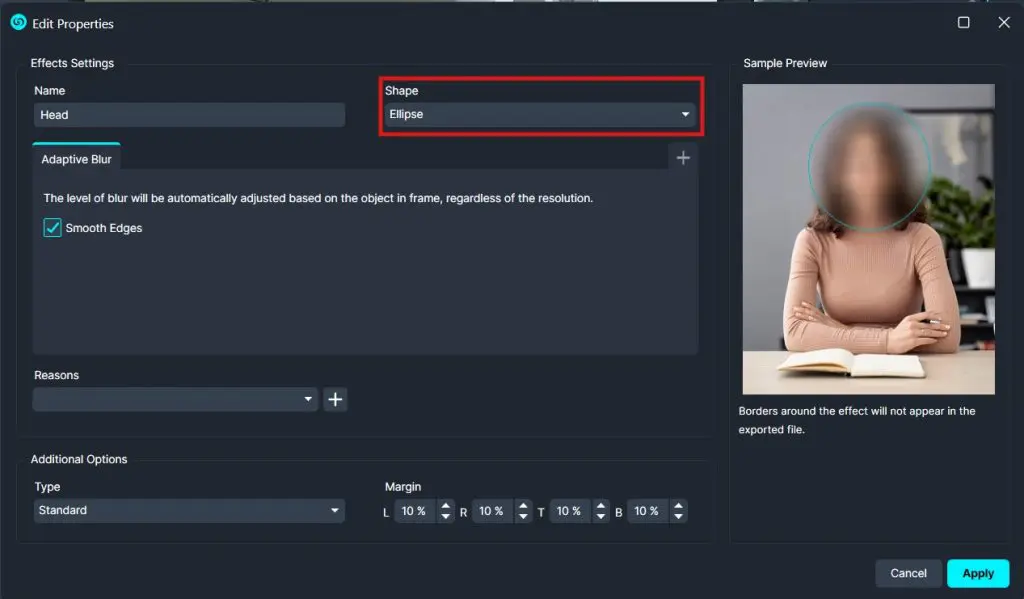
- The Edit Properties pop-up will appear. The selections made when running AI Automatic Detection will pre-populate in this window.
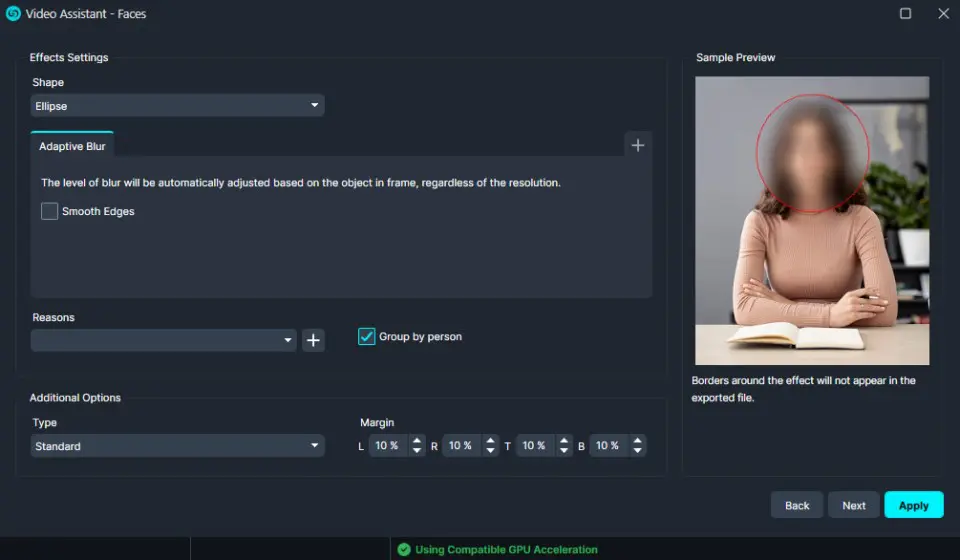
- Here you can change the Shape of the redaction. There are five shapes to choose from: Ellipse, Rectangle, Polygon, Diamond, and Triangle.
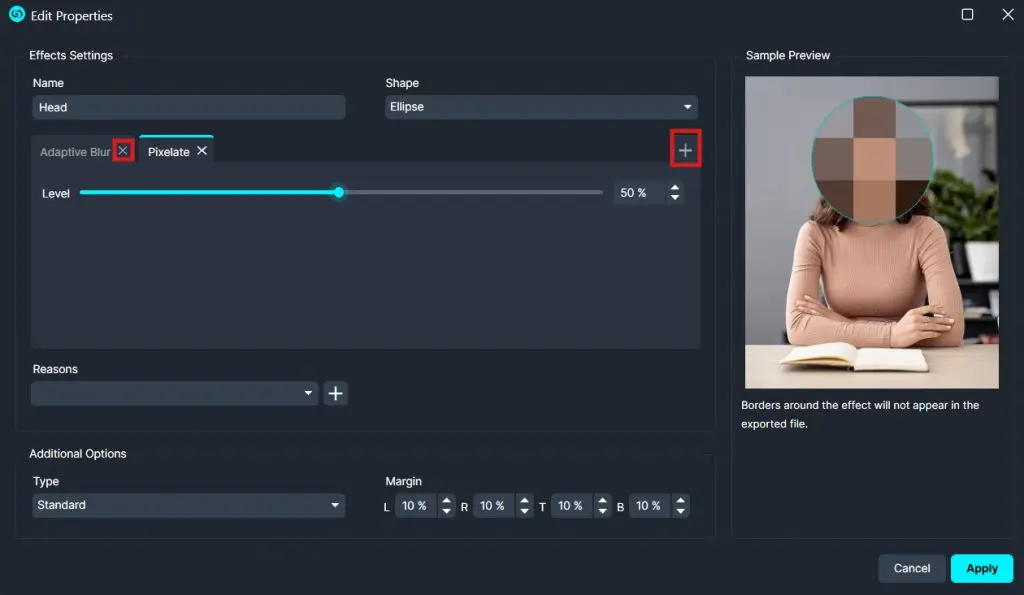
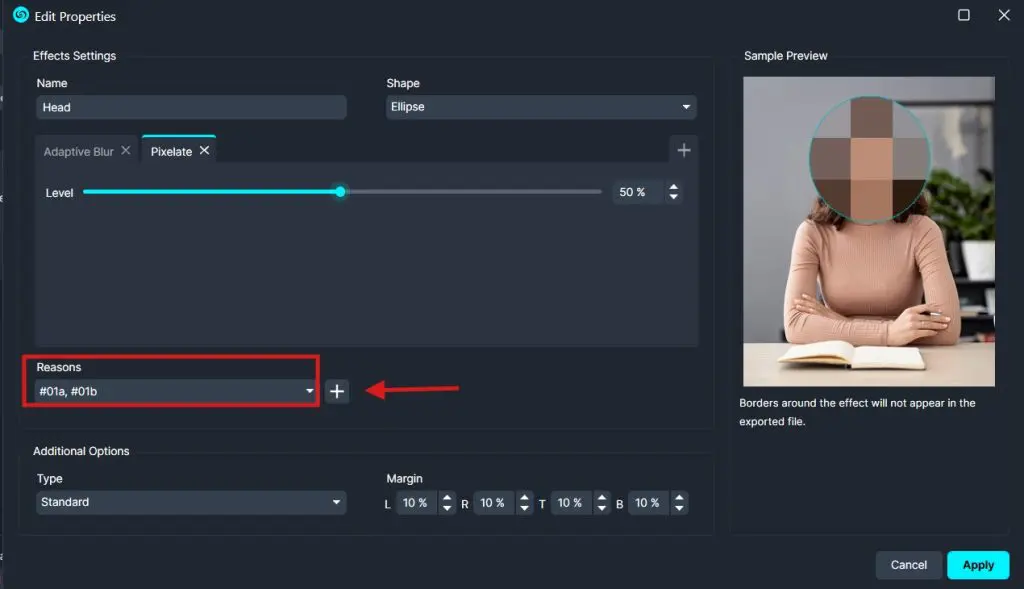
- If you would like to add redaction reasons, you can do that by editing the reasons dropdown.
- Once the desired edits have been made, click “Apply” and CaseGuard will perform the updates to the selected objects.
- Repeat the above process for each category of object in need of edits.
- After reviewing that the redactions placed satisfy your needs, click the “Export”
 icon in the Shortcuts Bar, and the redacted file will appear in the Project Files Panel.
Conclusion
The Bulk Edit feature makes it easy to update multiple redactions at once, helping you maintain consistency across your video while reducing repetitive manual work. Whether you need to change redaction shapes, effects, or reasons, Bulk Edit allows you to apply updates to selected objects or entire categories in just a few clicks. Before exporting, review your changes to ensure all redactions meet your organization’s policies and compliance requirements.
If you have any questions about how to use the Video Activity Panel for bulk redaction, please reach out to the Support Team at [email protected].
Was this article helpful to you?
No
Yes
2