If your audio files are on a CD/DVD in what’s known as “CD Audio Track Shortcut” (extension .cda), these files will need to be ripped into mp3 format or wave format before they can be redacted. Follow the steps below to rip (convert) any CD/DVD audio tracks to mp3 files then add them to CaseGuard Studio to redact them.
- Make sure your computer is connected to the internet if you want Windows Media Player to automatically get info about the media such as the name of the CD, the artist, and the titles from the tracks being ripped.
- Open Windows Media Player.
- Insert an audio CD/DVD into the computer’s CD/DVD drive.
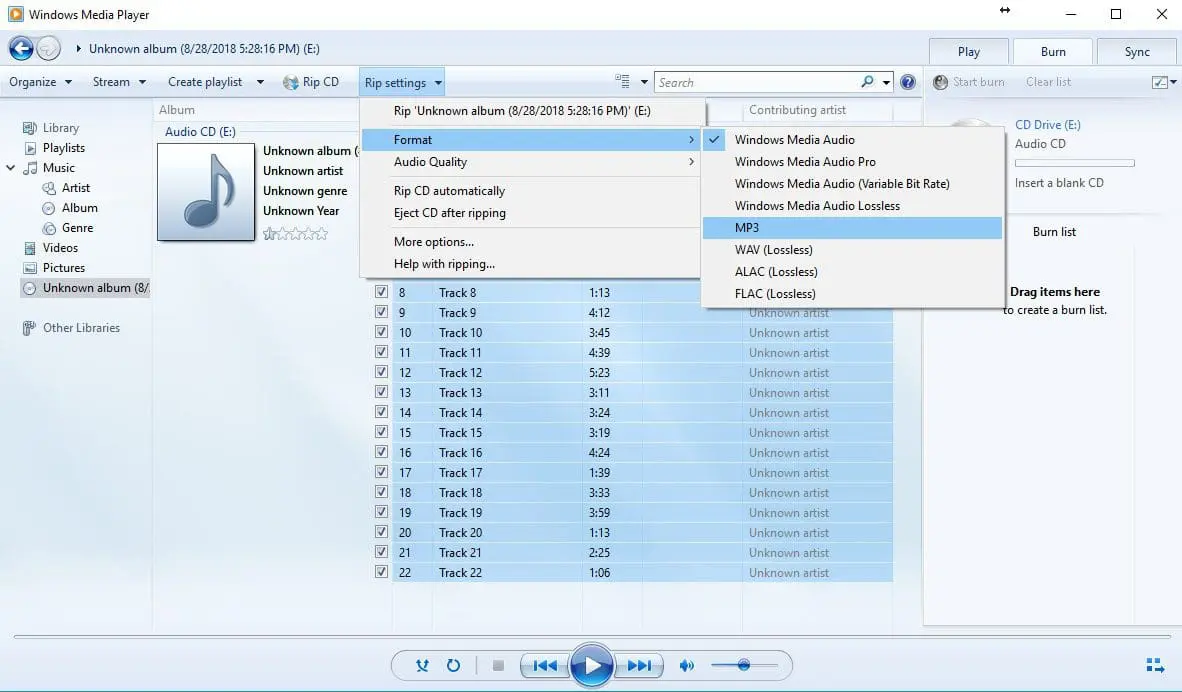
- Select the output files format by clicking Rip Settings –> Format –> Mp3.
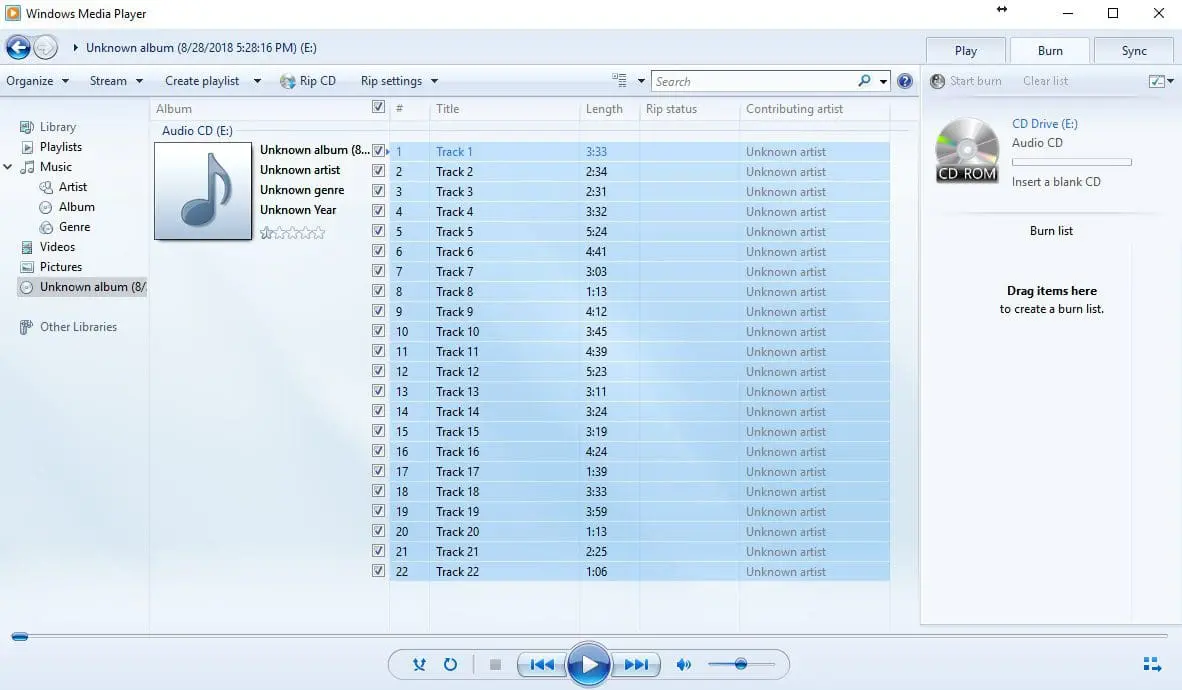
- Make sure you check the box next to each track when choosing which files to rip.
- Once your desired files’ checkboxes are checked, click on Rip CD.
- You can find the location your files were ripped to by clicking on Rip settings, and then clicking on rip options.
Conclusion
If your audio files are stored on a CD/DVD as CD Audio Track Shortcut (.cda) files, they must first be converted (ripped) to a supported audio format, such as MP3 or WAV, before they can be redacted in CaseGuard Studio. If you have any questions, feel free to reach out to [email protected] for assistance.