Use Case
My CaseGuard will not open any videos. Whenever I try to add one I get an error in the diagnostics window saying “cvextern.dll not found.” This issue is caused by the cvextern.dll being blocked or missing.
Follow these steps to fix the error message ‘cvextern.dll not found’!
Steps to locate the .dll.
- Open “Windows File Explorer.”
- Depending on how the user installed CaseGuard, the file will be located in different areas.
- If CaseGuard was installed for only the user, follow this directory: C:\Users\useraccountname\AppData\Local\Programs\CaseGuard Studio\Dependencies\DLLs\x64
- The folder may be under Studio.
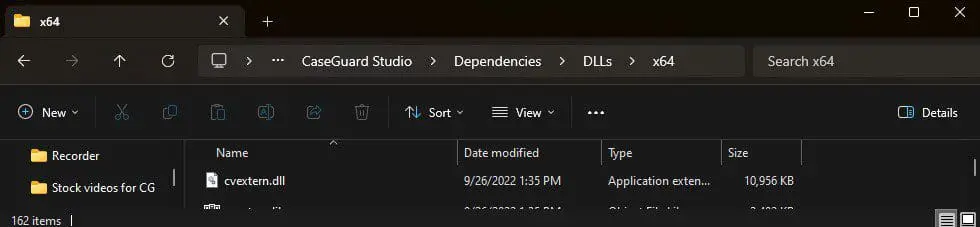
- If CaseGuard was installed for all users go to this directory and find the cvextern.dll: C:\Program Files (x86)\CaseGuard Studio\Dependencies\DLLs\x64
- If the .dll is missing, the next step is to uninstall CaseGuard and reinstall it. When reinstalling CaseGuard, have IT turn off the firewall for the installation to ensure no files are blocked.
- To reinstall CaseGuard follow the steps here.
- If the .dll is in the folder, the next step is to have IT either turn off the anti-virus or create an exception for CaseGuard so this file can be run correctly. We recommend having IT turn off the anti-virus altogether just in case. If it works fine then have them create an exception and test again.
To address the issue related to the missing ‘cvextern.dll’ file, particularly in N versions of Windows, installing the Windows Media Pack can be an effective solution. The N versions of Windows typically do not come with ‘cvextern.dll’, so it might need to be added manually. If users are uncertain about their Windows version, it’s advisable to install the Windows Media Pack regardless to see if it resolves the issue. This approach can help ensure that all necessary files and components are in place for the proper functioning of CaseGuard Studio.
To install the pack go to this website and install the correct version for the machine: https://www.microsoft.com/en-us/software-download/mediafeaturepack.
If none of these work it is likely the user’s machine is missing key files or is not able to run CaseGuard Studio. If needed, you can run a system file check to see if any Windows files are missing or corrupted.
Follow these steps to run a file check:
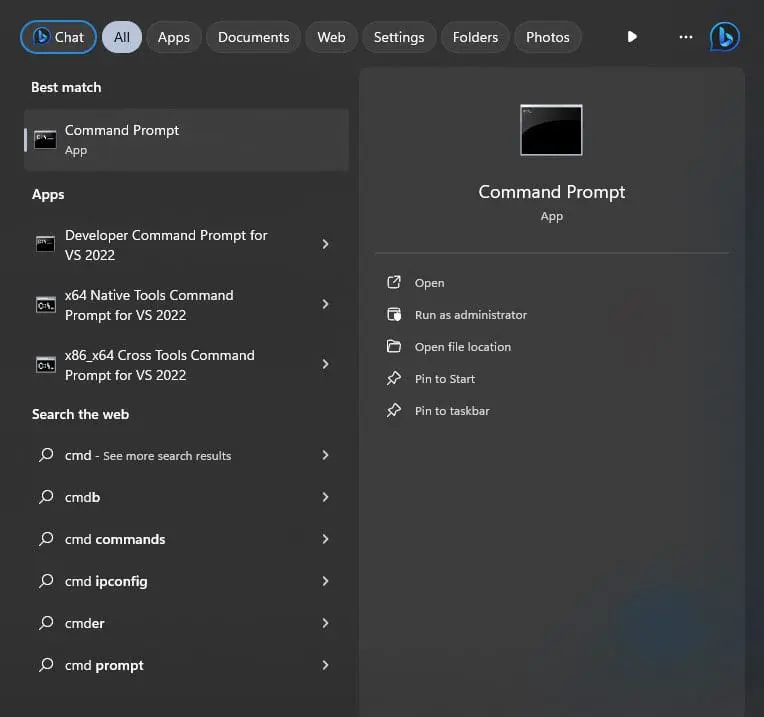
- From the desktop, press the Windows + X shortcut key combination.
- In the menu, select “Command Prompt (Admin).”
-
- NOTE: System File Checker can be run from Windows PowerShell (Admin).
- On the User Account Control (UAC) prompt, click “Yes.”
- In the command prompt window, type
SFC /scannow and press “Enter” on your keyboard.
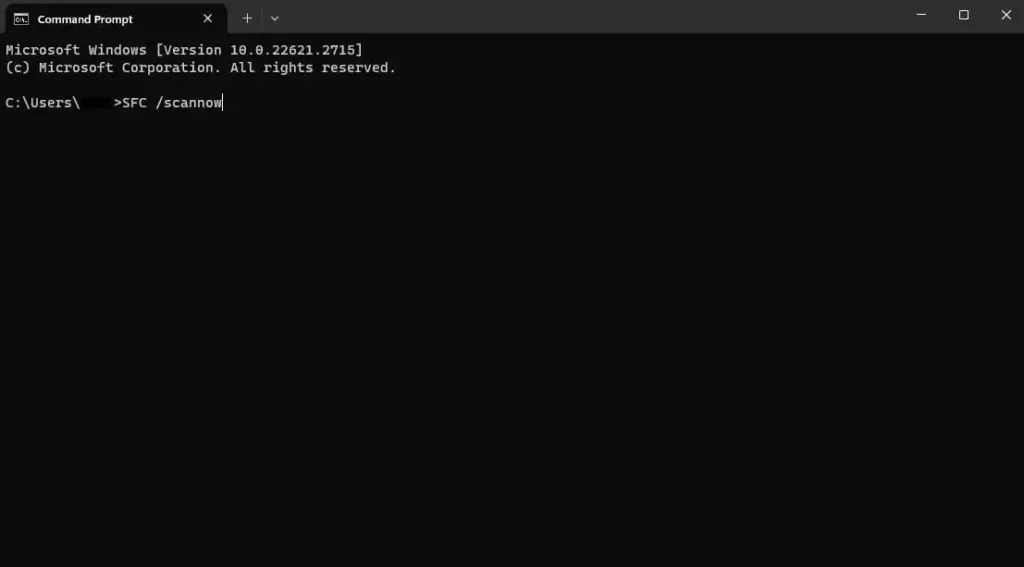
- System file checker utility checks the integrity of Windows system files and repairs them if required.
- After the process is complete, reboot the computer.
Another option is to repair the user’s CaseGuard and also install the CaseGuard add-ons:
- Search “add or remove programs” in the Windows search bar.
- Find CaseGuard, click the three dots to the right of it, and click “Modify.”
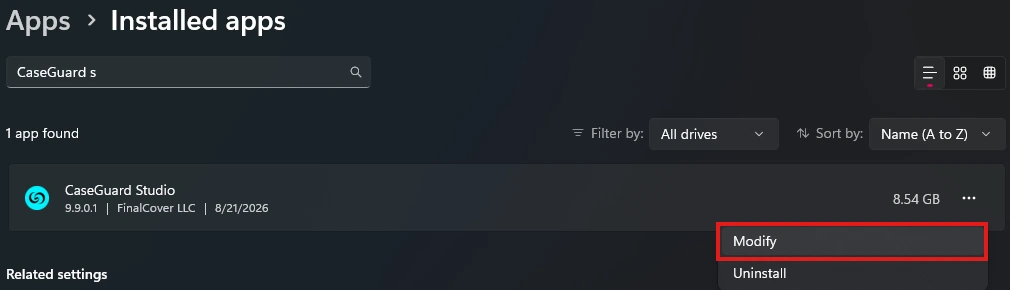
- The CaseGuard installer will open, click “Repair“, and let it run.
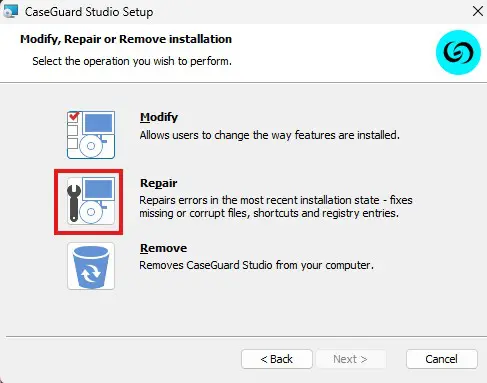
- When that is finished, repeat the same steps and click “Modify.”
- Install all the options and try to add the file in CaseGuard again.
Was this article helpful to you?
No
Yes
5