Use Case:
Legal teams often handle large volumes of sensitive documents that require clear organization for redaction, review, or presentation. In addition, Adding text separators can streamline the organization of legal files, making it easier to navigate critical information during case preparation. This guide walks you through how to efficiently add text separators in CaseGuard Studio.
How to Add a Text Separator in CaseGuard Studio
Step 1: Open CaseGuard Studio and Load Your File
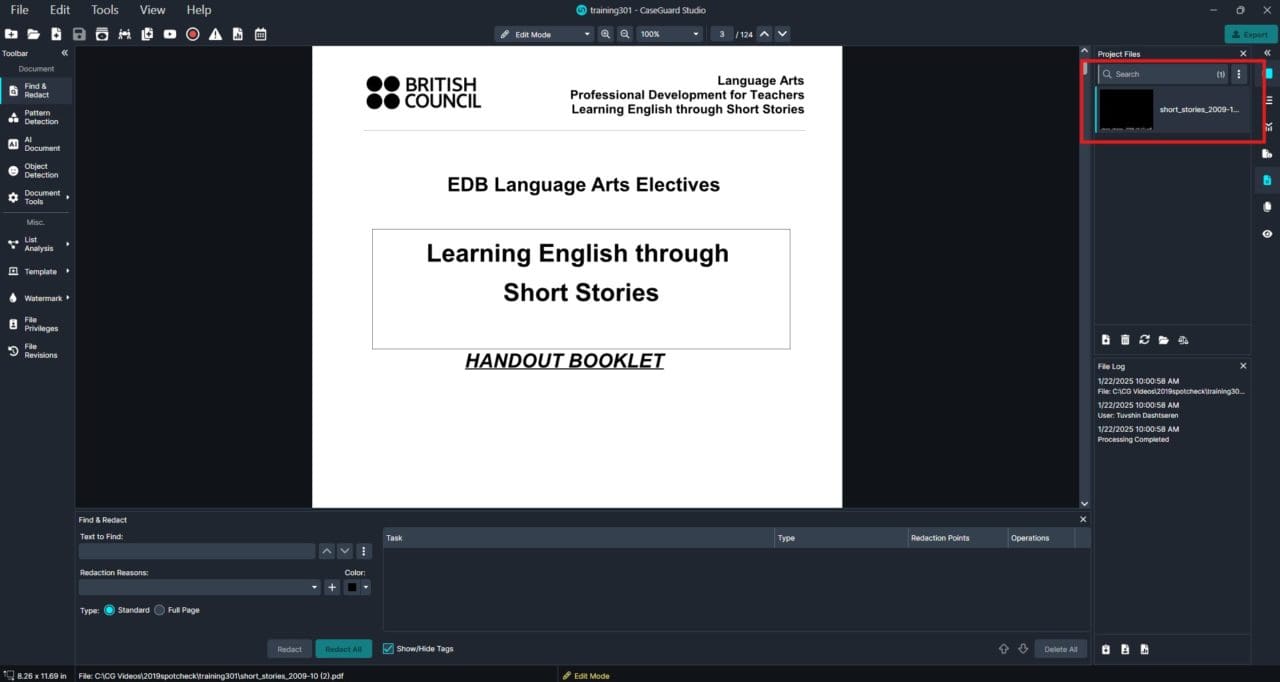
Start by launching CaseGuard Studio. Open the document you need to modify by selecting it under your project files panel. This document will be the one where you’ll add text separators for improved organization.

Step 2: Access Document Tools
Second, when the document is open, locate the left-hand toolbar and click on “Document Tools.” From the drop-down menu, select “Organize Pages” to begin configuring your text separators.

Step 3: Choose Pages for Text Separator Application
At the top of the “Organize Pages” menu, there’s a drop-down selection to specify which pages should include text separators. Options include selecting odd pages, even pages, or all pages, depending on your needs. Choose the option that best aligns with your document’s structure.

Step 4: Add the Text Separator
In the bottom left corner of the “Organize Pages” menu, click on the button labeled with a “T”, representing the text separator tool.

Step 5: Configure Your Text Separator
A configuration window will appear, allowing you to customize the text separator. You can:

- Automatically generate text separators from the file name.
- Input custom text for the separator.
- Adjust font style and size.
- Choose a background color for enhanced visibility.
Once you’ve finalized your settings, click Apply to preview the changes.
Step 6: Review and Finalize
Review the pages to ensure the text separators are applied correctly. If everything looks good, click Apply again within the “Organize Pages” menu to finalize your changes.

Step 7: Export Your File
After confirming the updates, go to the top-right corner of the interface and export the file to your computer. This ensures the document is ready for distribution or further review.

Conclusion
For legal professionals, adding text separators in CaseGuard Studio simplifies the organization of complex documents, making them easier to navigate and review. By following these steps, legal teams can efficiently prepare files for court proceedings, internal audits, or client reviews. CaseGuard Studio’s robust tools empower legal teams to manage documents with precision and confidence.
Was this article helpful to you?
No
Yes