How to Merge Bulk PDF Documents in CaseGuard Studio
July 01, 2022 | 3 minutes read
When working with PDF documents for both professional and personal use, there may be occasions when a consumer wishes to merge two separate documents into one document. For instance, a school administrator may want to combine their school attendance records from consecutive years into one document. Alternatively, a recent college graduate may want to combine different restaurant menus into a single document when looking to plan a graduation party. Whatever the specific reason may be, CaseGuard Studio gives users of the software the ability to merge bulk documents into one document by following a few simple steps.
Getting started

To begin the PDF merging process in CaseGuard Studio, users must first click the Bulk Processing tool located on the Shortcuts Bar within the software. After clicking on this button, the Bulk Processing pop-up window will then appear within the software. When navigating this pop-up window, software users can perform a wide range of redaction and enhancement work on bulk files. To this point, a user looking to merge multiple PDF documents into one document would select the Merge Document Files option from the dropdown Operations menu within the Bulk Processing pop-up window, as shown in the screenshot below. This will then allow users to add files to their project by clicking the Add Files button.


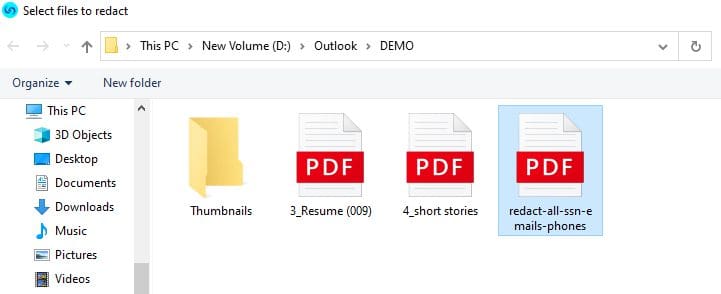
Clicking the Add Files button will then take users to the file explorer on their respective machines. When a user has successfully added the PDF files they would like to merge to the software, they will also see the File Count and Page Count for the documents they have uploaded within the Bulk Processing pop-up window, as shown in the screenshot above. What’s more, there is also a Text Separator feature that allows users of the software to create page breaks within the PDF documents they are looking to merge, giving said users the ability to differentiate between the varying documents they have merged once the process has been completed.

Merging document files
When a user has uploaded all of the documents they wish to merge within CaseGuard Studio, as well as any text separators they would like to insert within the document, they can finalize the process by clicking the Start button within the lower-right corner of the Bulk Processing pop-up window. After clicking the Start button, users can then click on the Scheduled Jobs button within the Shortcuts Bar. Clicking this button will open the CaseGuard Scheduled Tasks pop-up window within the software. This pop-up window gives users more information about the work that they have performed in the software.


For instance, users can look at Scheduled At and Completed On sections of the CaseGuard Scheduled Tasks pop-up window to see the exact date on which their work was completed. Conversely, users can check the progress of the PDF merging process by looking at the loading bar underneath the Progress section of the CaseGuard Scheduled Tasks pop-up window. Furthermore, users can also click on the Open Project Folder button within this same pop-up window to access the merged PDF files on their own local machines, as shown in the screenshot above.
With CaseGuard Studio, the process of merging multiple PDF documents into one single document can be done by following a few key steps. While the concept may appear to be straightforward on a surface level, merging PDF documents into one PDF can be very challenging when using other software programs. Due to this fact, the team at CaseGuard Studio has worked hard to provide users of the software with features that will enable them to tackle their work assignments or personal endeavors as easily as possible, as it pertains to both the merging of PDF documents into one PDF, as well as a host of other redaction and enhancement features for numerous different files types. In this way, we hope to make redaction software accessible to all consumers within the marketplace today.