The Best Way to Add PII to CaseGuard’s Blocklist
August 23, 2024 | 2 minutes read
The blocklist feature in CaseGuard is an essential tool for blocking specific Personally Identifiable Information (PII). For instance, if you need to redact bank account numbers but want to keep a certain list of these numbers unredacted, the blocklist allows you to exclude these specific numbers from the redaction process. This feature streamlines your workflow by reducing the need to delete redactions, saving time, and enhancing automation.
This article serves as a comprehensive guide to creating and managing your blocklist in CaseGuard. It will cover best practices, step-by-step instructions on applying blocklists, and methods for editing them.
Accessing the Blocklist
There are two ways to access the blocklist in CaseGuard:
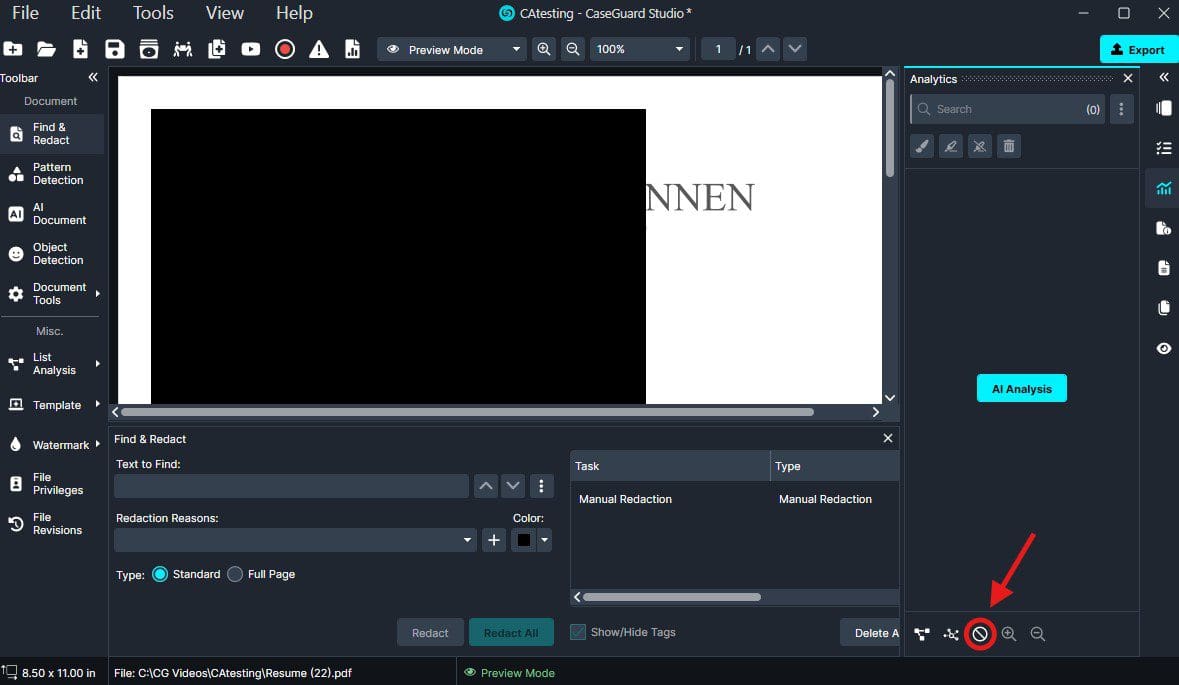
- Via the Analytics Tab: Open the Analytics tab and locate the ⊘ icon at the bottom of the panel.
- Via the Top Toolbar: Navigate to the top toolbar, select “Tools,” then choose “List Manager” followed by “Common Blocked Analytics.”


Once you navigate to your blocklist, you will see the window below, where you can add a new entry or search within your list using the search bar at the top.

Adding Entries to the Blocklist
To add a new entry to your blocklist, click “Add New.” A window will appear, allowing you to manually specify the type of PII you want to block from redaction. Once added, the entry will appear in your list.

Alternatively, you can import a list of PII entries from a .txt file. Each entry in the file must be on a separate line to ensure proper import into CaseGuard. To import, click the “Import Entries” button at the top right of the blocklist window, then select your .txt file from the file explorer.

Once you have your list ready in a .txt file, within the blocked list locate the “Import Entries” button on the top right of the window. A Windows file explorer should appear and then you may select your .txt file.

Deleting Entries from the Blocklist
To delete an entry from your blocklist, navigate back to the blocklist window and click the reverse arrow button to the right of the entry you wish to remove. This will delete the entry from your list.

Conclusion
By following these steps, you can efficiently configure and manage your blocklist in CaseGuard, optimizing your redaction process and automating your workflow. If you require any additional assistance with setting up this feature please feel free to reach out to [email protected]