¿Cómo redactar personas en un video con CaseGuard?
September 08, 2022 | 5 minutes read
While redacting audio and PDF files has become a relatively easy process due to the large number of programs available, redacting videos has proven to be much more difficult. Due to the large number of factors to consider when redacting a video, including the quality of the material, the redaction software to be used, and personal information or objects that need to be removed, the redaction process can be extremely long and tedious. That is why CaseGuard Studio offers users the ability to redact videos containing multiple people in a simple and intuitive way.
For a start
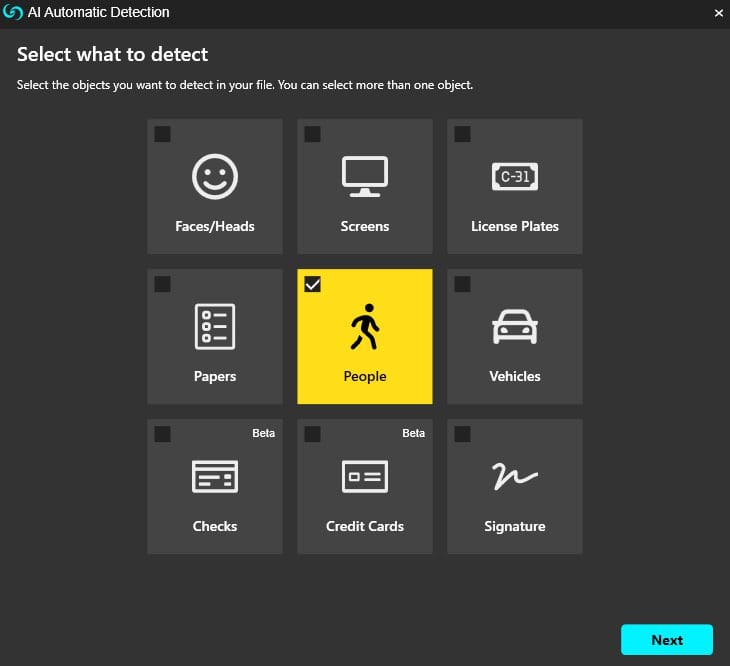
To redact multiple people in a video using CaseGuard Studio, users need to click on the Auto-Detect People feature on the left toolbar, which will take them to the AI-powered auto-detection pop-up window. There, users will be able to see that the Person option has already been checked. Next, users can click on the Next button on the bottom right corner of the pop-up screen to choose the shapes and redaction effects they want to use while editing their video. To redact multiple moving people in a video recording, the rectangular shape and blur effect work very well.
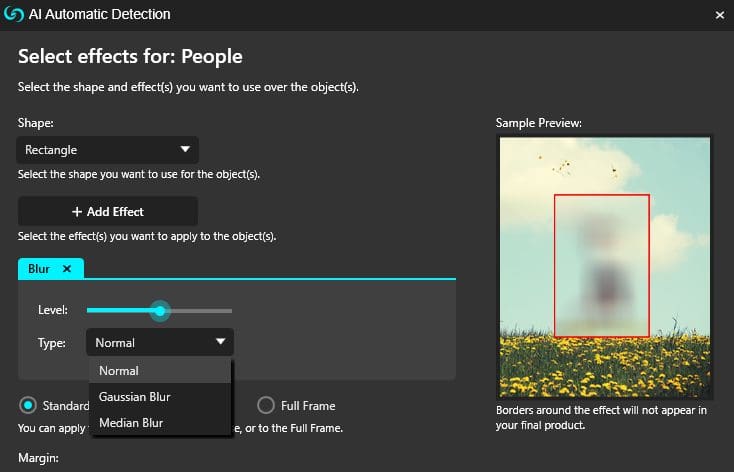
Once users have decided which redaction shapes and effects they want to use, they can click the Next button again to decide where in the file they want to apply the changes. The user can then choose to apply their redactions to the entire video file (by selecting the Entire File option) or choose a specific range within the video (by clicking the Selected Range option). In the latter case, time stamps corresponding to the parts of the video to be redacted, as well as frames, must be taken into account. Once the user has decided how far they want to redact their video, they can click Next again and then the Apply button to start the process.
Object Detection Panel

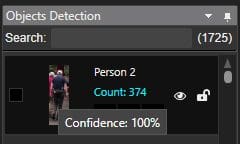
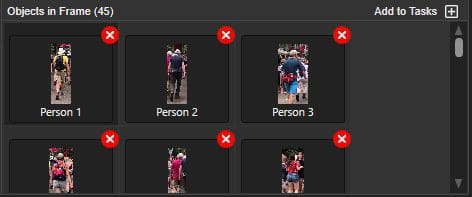
After the user clicks the Apply button, he or she will see an auto-detection bar in the bottom right corner. Additionally, the user will be able to view thumbnails of all the people edited so far by checking the Objects in Frame panel located below the media player. The user can then make edits using these thumbnails by clicking on the object detection panel in the right section and then clicking the thumbtack button in the panel. By navigating through this panel, the user can make a wide variety of edits to the objects that the system has detected.
Por ejemplo, puede pasar el ratón por encima de una miniatura dentro del panel de detección de objetos para ver el nivel de confianza de cada detección realizada. Este nivel de confianza se refiere a la precisión con la que el sistema ha reconocido un objeto concreto dentro del video, ya sea este una persona, un trozo de papel o la matrícula de un automóvil, por sólo poner algunos ejemplos. Además, dentro del panel de detección de objetos está el botón Ir a la Posición, que permite obtener una mayor comprensión de cada detección individual que el software ha realizado.
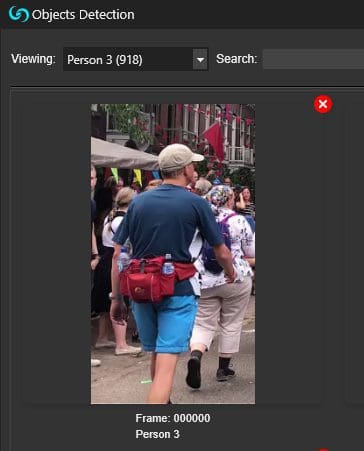
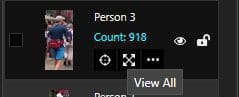
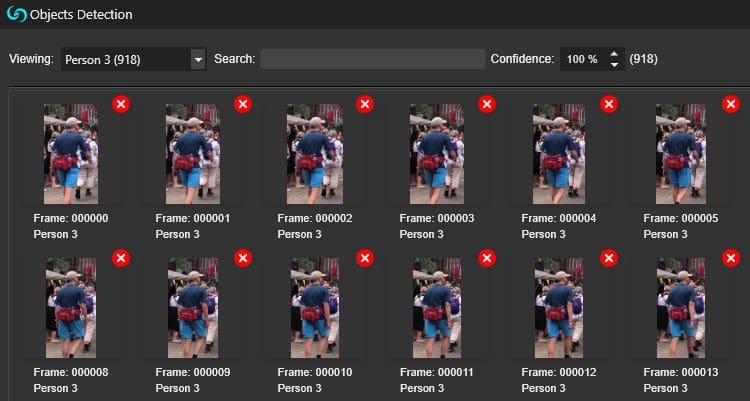
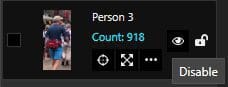
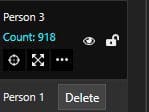
A esto se suma que el usuario puede hacer clic en el botón Ver Todo dentro del panel de detección de objetos para ver todos los fotogramas del video en los que se ha detectado una persona u objeto concreto. Tras hacer clic en este botón, el usuario podrá acceder a una ventana emergente con miniaturas que muestran los distintos objetos que el software ha podido detectar. Si un usuario considera que el sistema ha detectado erróneamente un objeto en particular, puede hacer clic en el botón Desactivar de la ventana de detección de objetos para eliminar temporalmente dicho objeto. Existe también el botón Eliminar en el panel de detección de objetos que permite a los usuarios eliminar por completo un objeto detectado. Téngase en cuenta que las detecciones no pueden recuperarse una vez eliminadas, por lo que esta funcionalidad debe utilizarse con moderación.
Exportar el video
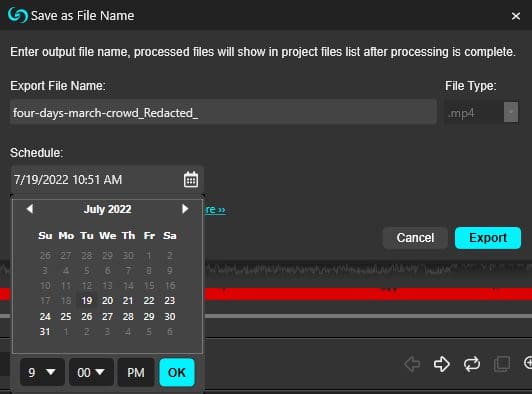
Una vez que se ha completado el proceso de detección automática y los usuarios han revisado el trabajo terminado para asegurarse de que el software no pasó por alto ningún detalle, entonces pueden finalizar el proceso de redacción haciendo clic en el botón Exportar de la esquina superior derecha. Esto llevará a los usuarios a la pantalla emergente de Guardar Como, desde la cual pueden hacer clic en el botón Exportar para comenzar el proceso de exportación. Además de exportar sus archivos inmediatamente, los usuarios tienen la opción de exportarlos en una fecha posterior, haciendo clic en el botón Calendario dentro de la sección dedicada a programar eventos de la ventana emergente. Una vez completado el proceso de exportación, los usuarios podrán ver su archivo redactado en el reproductor multimedia de CaseGuard Studio.
Si bien la redacción de videos por sí sola es una tarea muy difícil, redactar un video en el que aparecen numerosas personas en movimiento es un reto aún mayor. Por eso las funcionalidades de redacción automática de CaseGuard Studio han sido diseñadas para facilitar al máximo la redacción de contenidos de video. Dichas funcionalidades ofrecen a los usuarios los medios para redactar videos de forma efectiva porque el equipo de CaseGuard Studio garantiza a sus clientes un programa de redacción integral e innovador.